

Hi! I’m Sarah. I may not look it, but I’m half Japanese, half German/French. I’m 27 and in recent years have been guilted more and more by my mom to learn to friggin’ cook.
Introducing Yonsei Cooking, a series where I’ll attempt to make Japanese recipes suggested by my mom and share the journey.
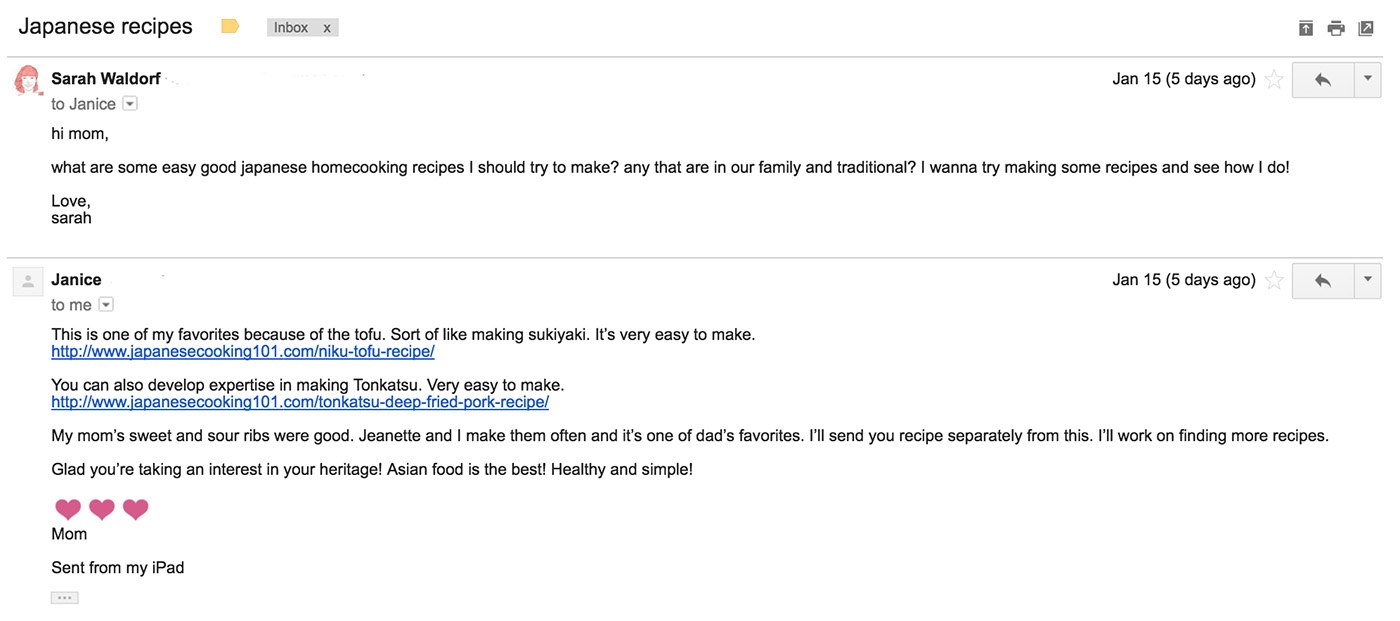
“Glad you’re taking an interest in your heritage!” Okay, mom. I’m starting a new series for you in an effort to improve my cooking skills and simultaneously make my mom happy. I present:
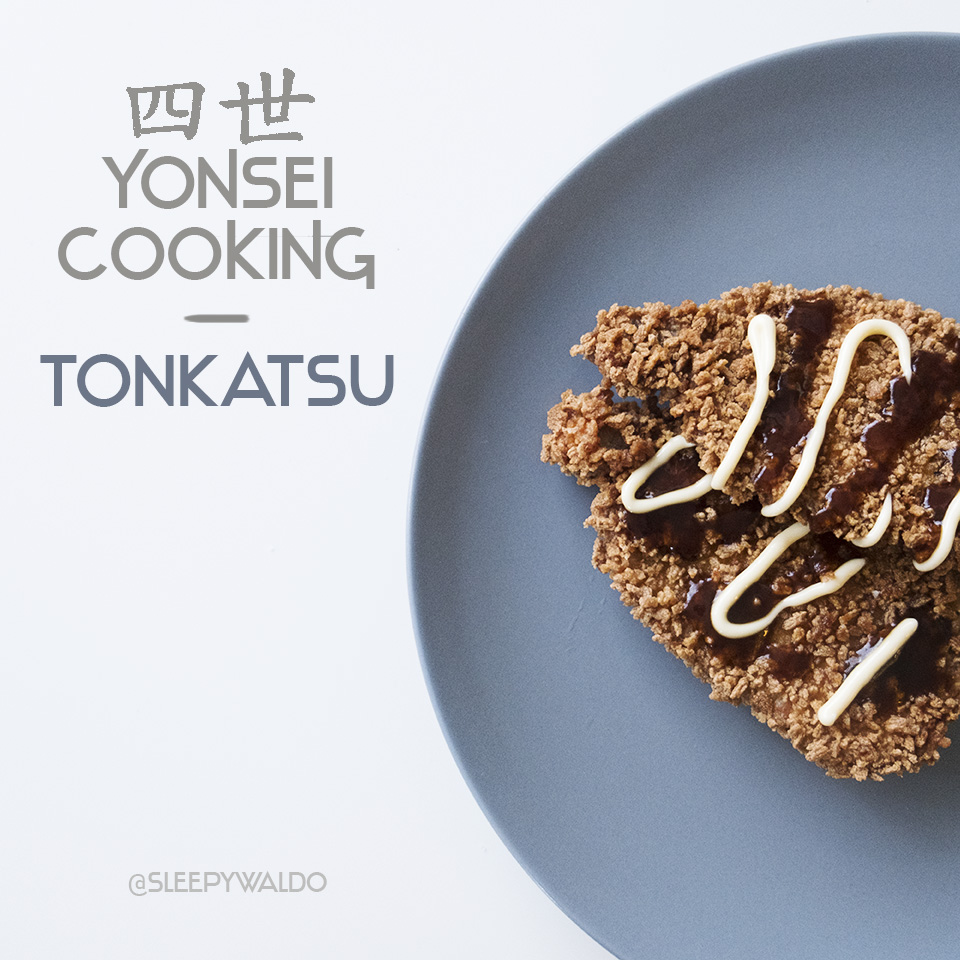
Yonsei Cooking, Episode 1: Tonkatsu
So! I’m a Yonsei, which means I’m fourth generation Japanese-American. Being JA is different than being Japanese from Japan, and just a disclaimer that what I cook and how I do it…will not be 100% “authentic.” But I’m doing this in the spirit of learning!
This series is not really about sharing recipes because let’s face it, I’m no fancy chef and I certainly have no illusions about my abilities. This is a way for me to connect to my family and integrate some Japanese home-cooking into my weekly life and I hope it’s okay I share this all with you.
So, tonkatsu. What do I already know about it? I know katsu is delicious on sandwiches, I know it’s delicious with curry, and I know it’s the name of my friend’s cat. A little on the history of the dish: tonkatsu is actually a Western-style Japanese dish and was “invented” in 1899 at a Tokyo restaurant called Rengatei, first made with beef and then later with pork. According to this “Asian snack retailer” I found online, “During the Meiji era, Emperor Meiji – in his bid for Japan to become a more modern country and lead the way in terms of development – encouraged Western influence. It was this Western Influence that introduced pork and deep frying into the mix, and since then the dish has gone on to evolve into many variations that include chicken (torikatsu), fish and vegetables.”
It’s not a super fancy dish, but has this feeling of being more special than a typical weeknight dish for just yourself. My mom said she’d make this for a group of people because even though it is easy to make, it feels like it’d be for a special occasion. This may just be my mom, who prefers not to deep fry things.
There’s lots of ways to enjoy tonkatsu and katsu can be made with more than just beef or pork. A few goodies to accompany your tonkatsu? Shredded cabbage, tonkatsu sauce, mustard, lemon…plus have a side of rice, miso soup, and tsukemono (pickled veggies).
Okay, here we go!


So a few days ago my mom sent me a link to this recipe by Japanese Cooking 101 and though I purchased the ingredients a few nights back I stood in the kitchen preparing to conquer my fear of deep frying in my apartment.
Allegedly this recipe was going to take 5 minutes of prep time and 10 minutes of cook time. So far staring at the recipe *panicking* has already taken quite of bit of prep time from me.
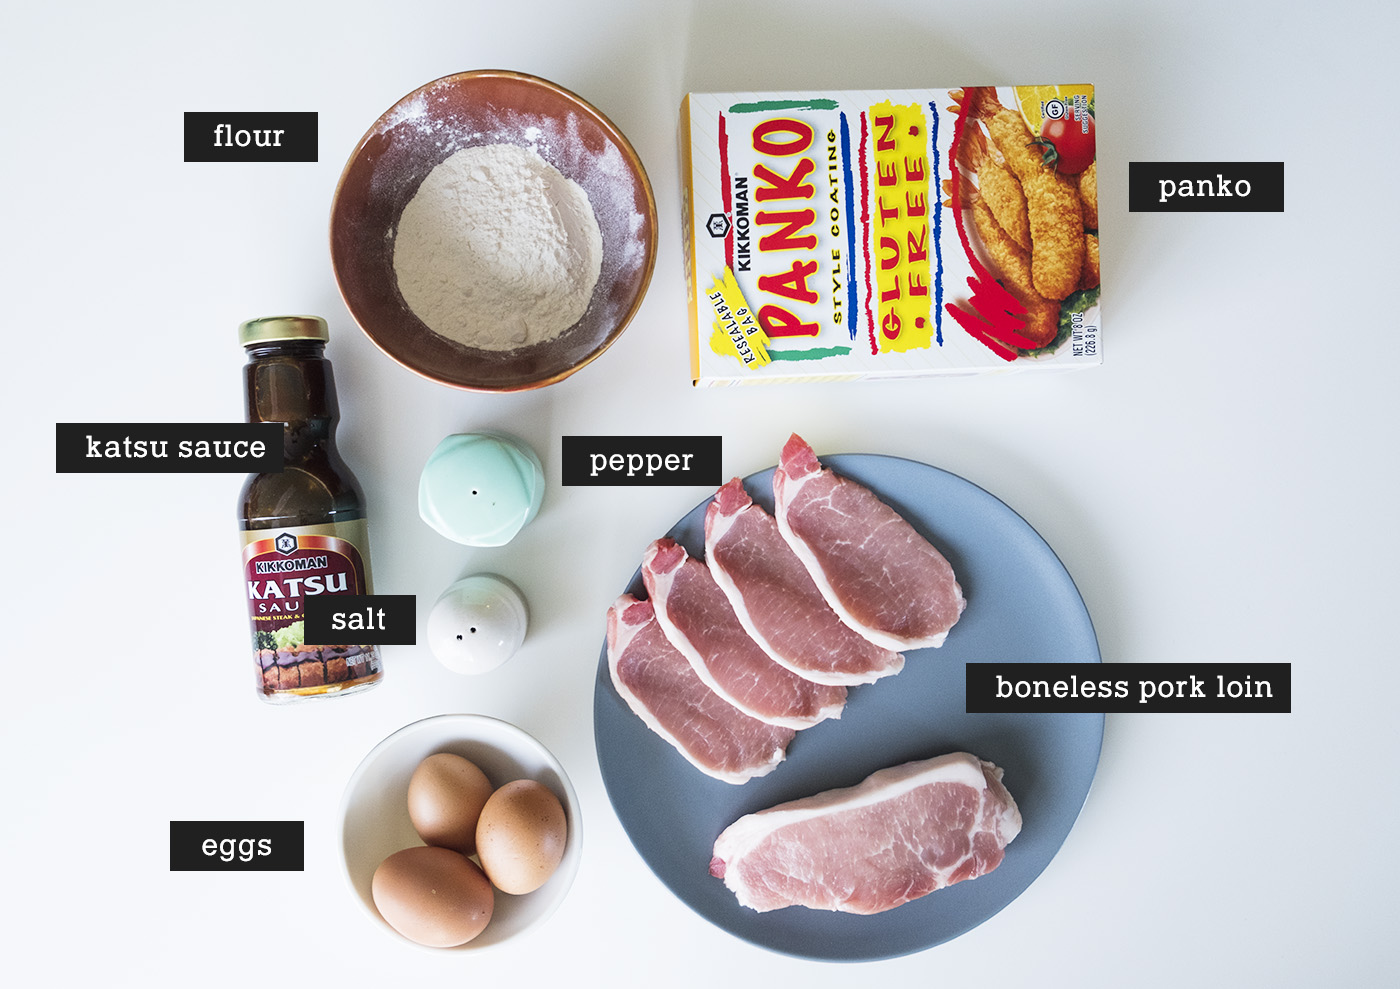
4 pork loin chops (about 1″ thick, no bones) *a note that I went for two types of pork loin, one sliced thin for yakiniku grill use, and the other thicker and closer to the 1″ described in the recipe*
salt
pepper
1/2 cup all purpose flour
1-2 eggs
1 cup panko or bread crumbs
oil for deep frying

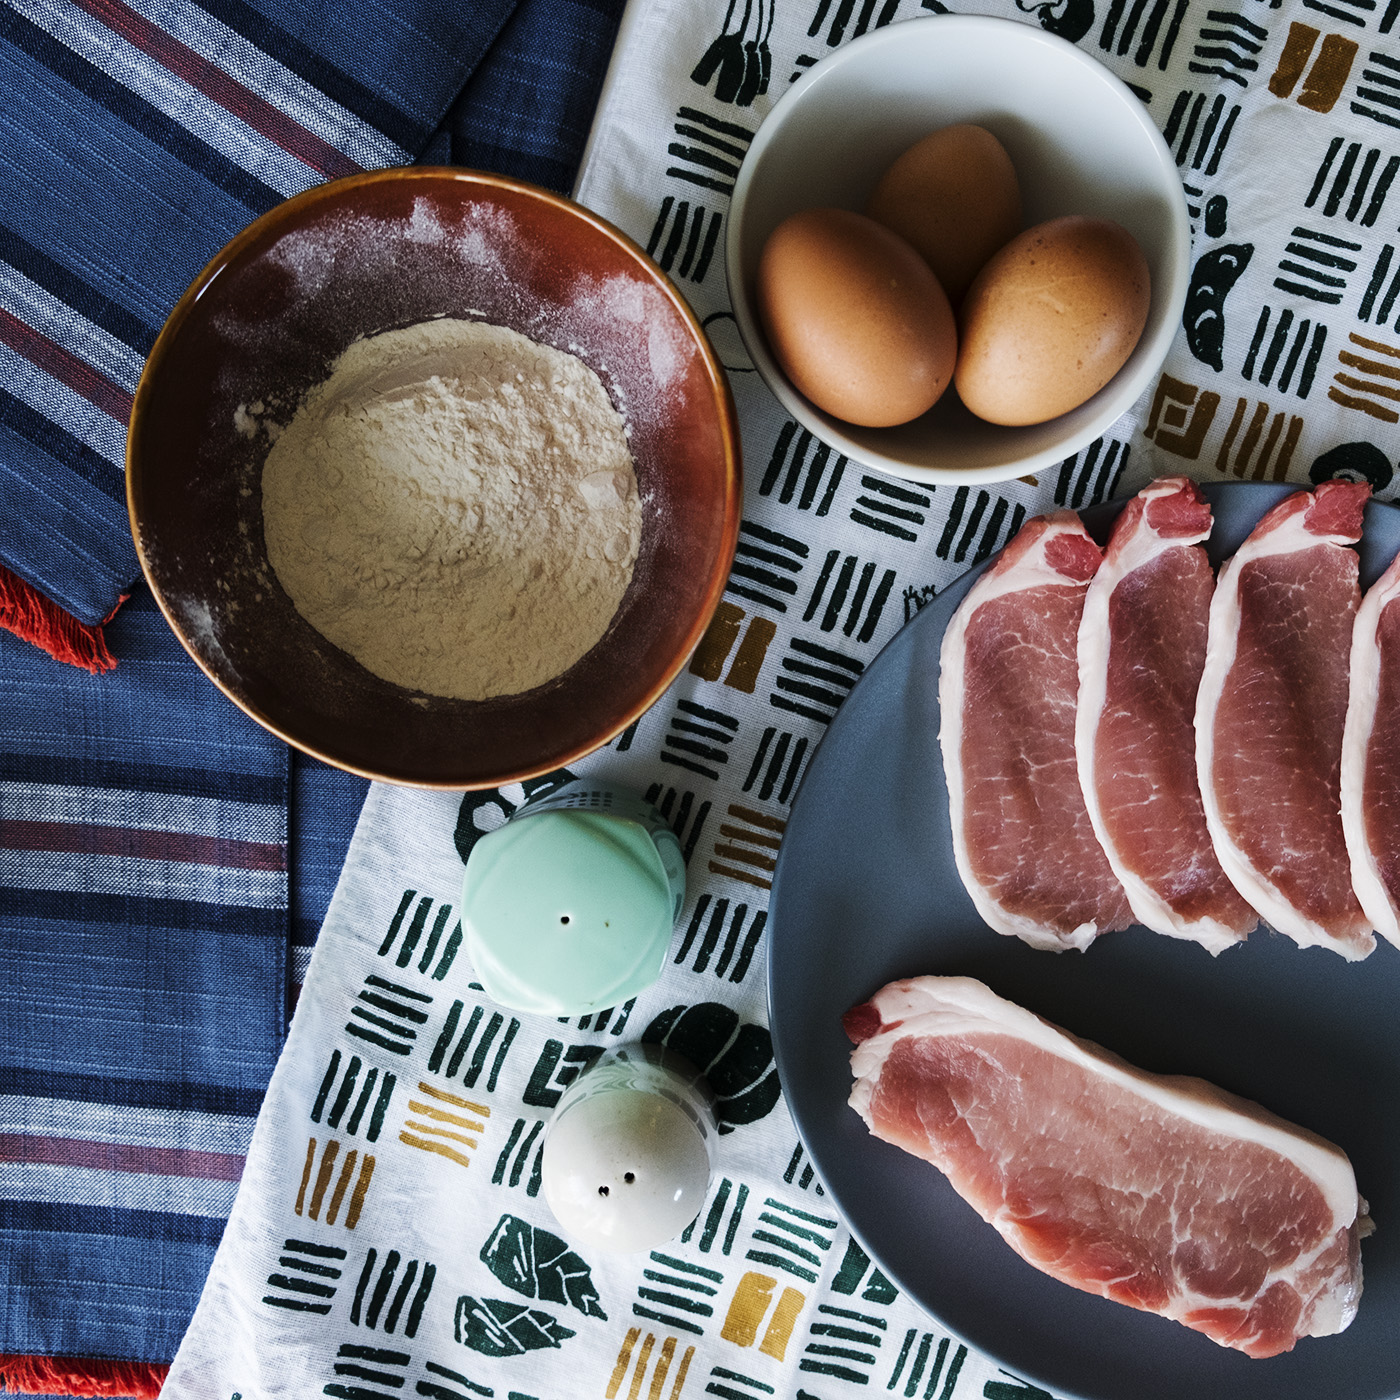
I spent so long organizing this shot, including dirting up some extra plates to display the eggs and pork. Worth it?
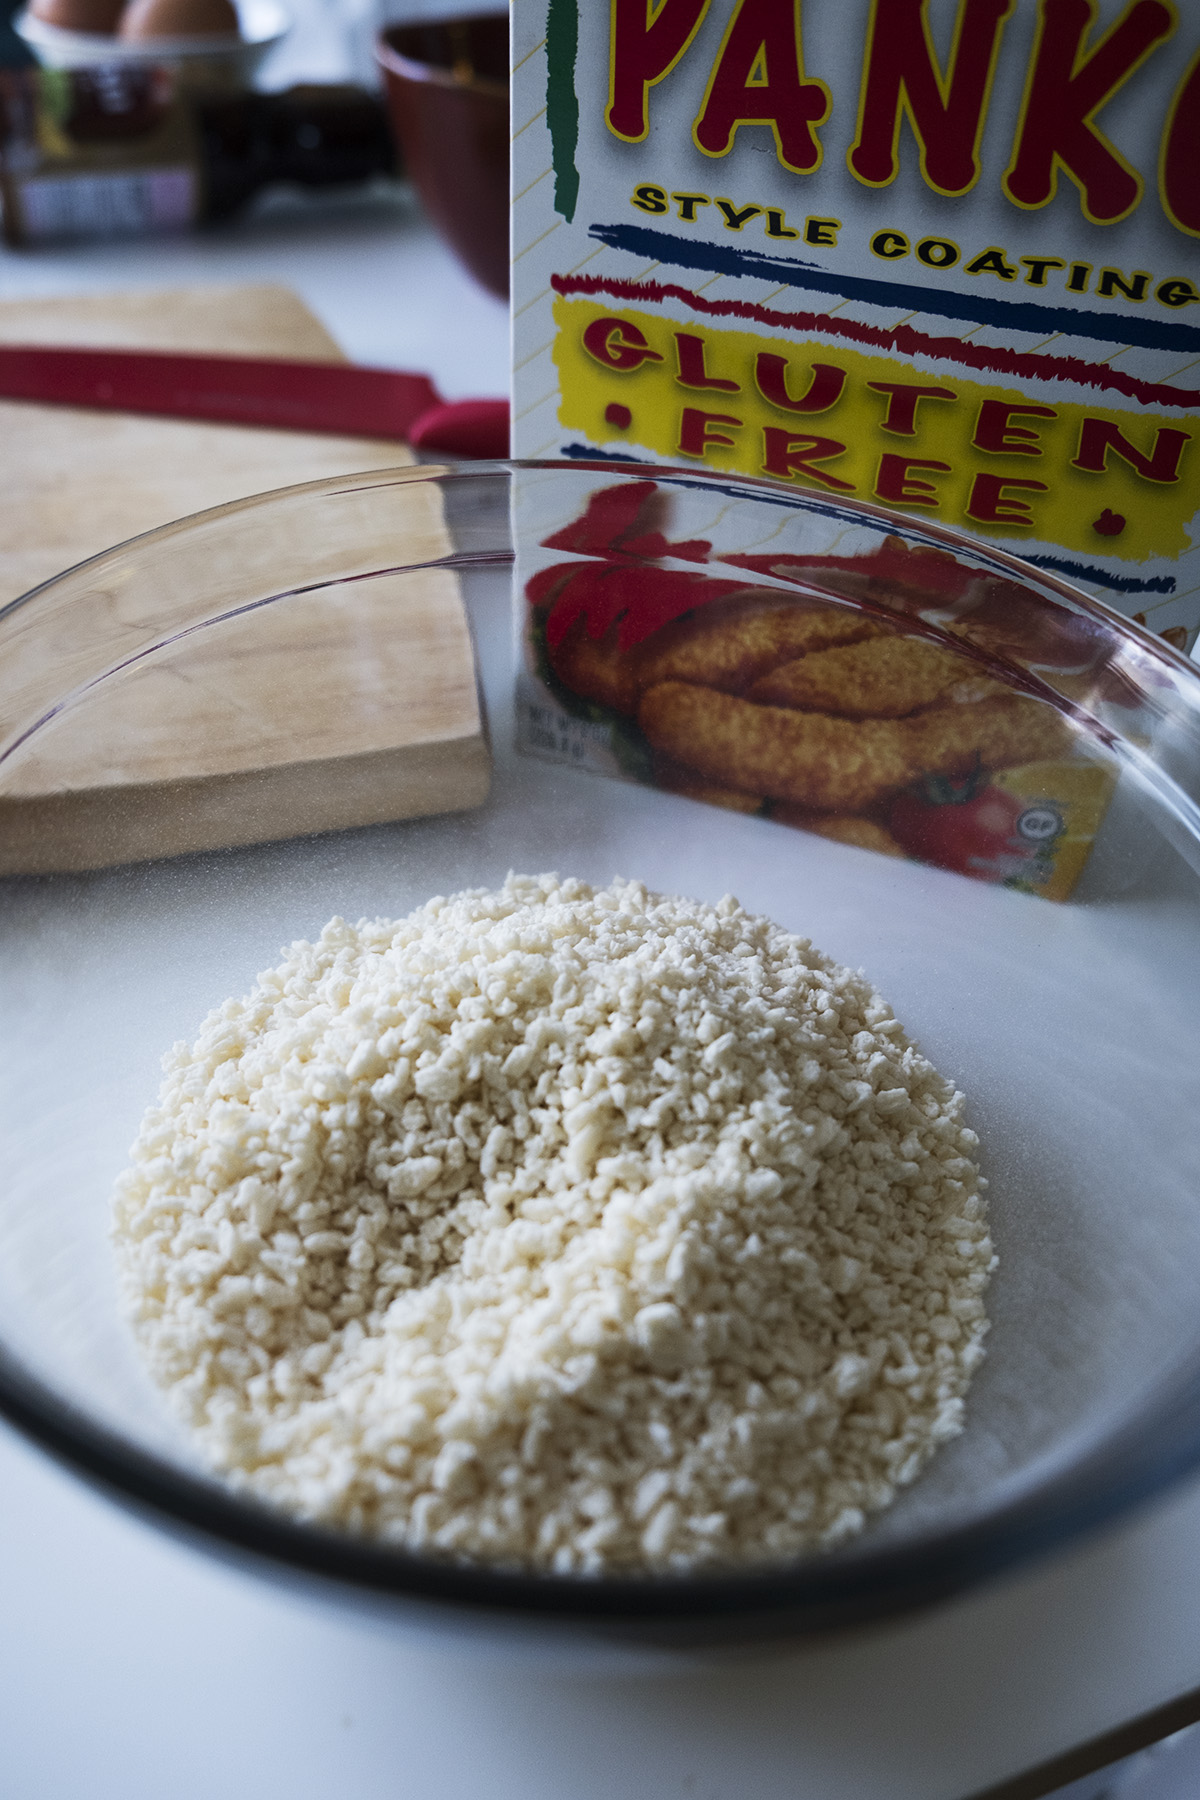

STEP 1: Prepare your ingredients!
At this point I realized it’d be important to have some bigger containers for the eggs and panko, as with a wider open tray it’d be easier to coat the pieces of pork. Part of learning to cook is realizing you don’t really have the necessary kitchen things all the time. But that’s okay, we’ll make it work.
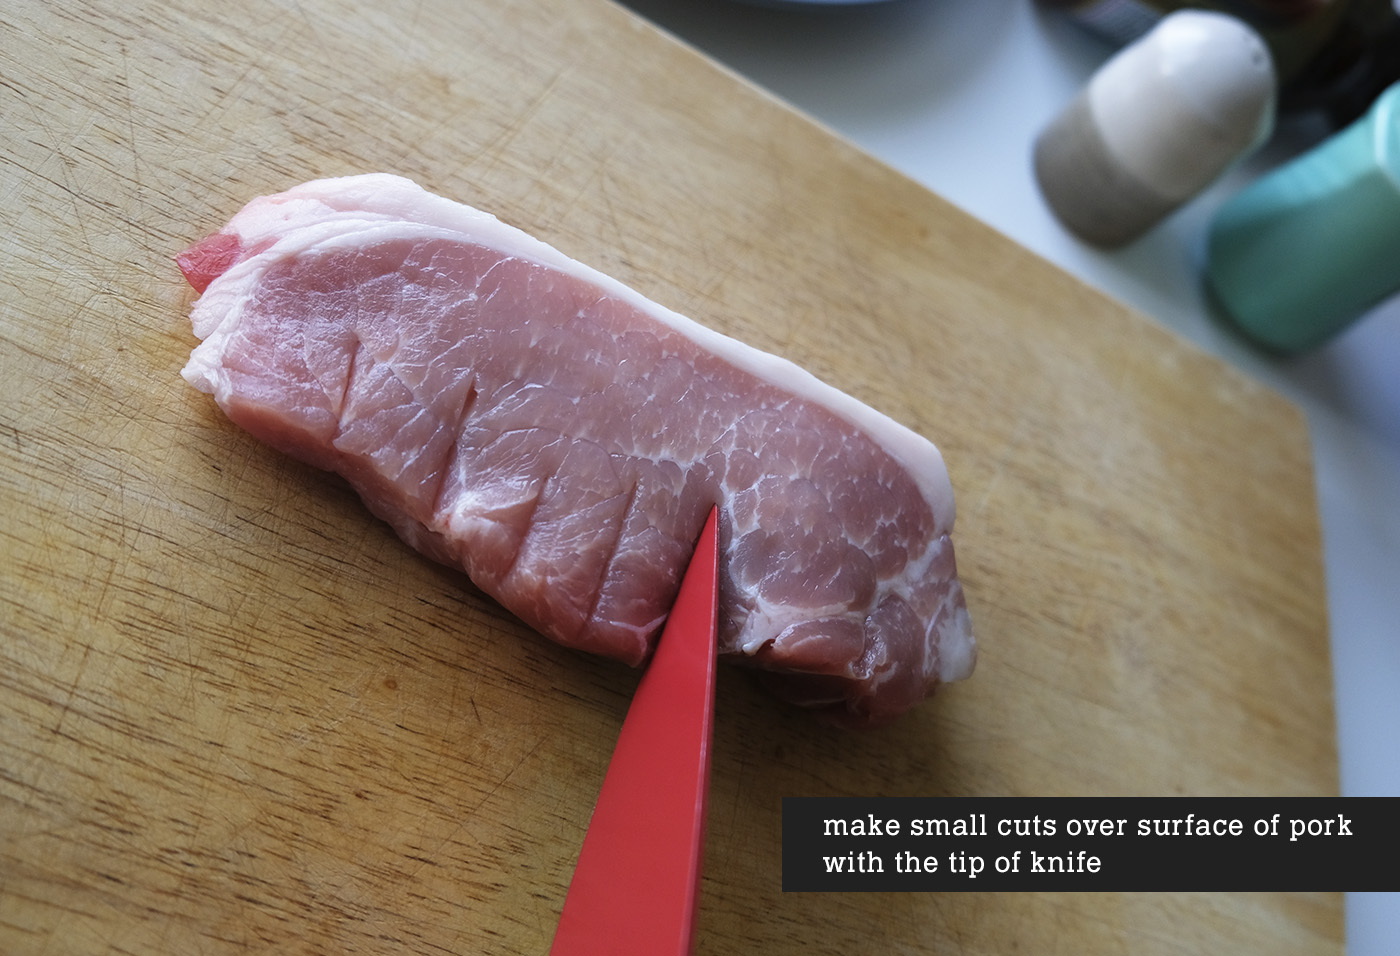
STEP 2: Make little cuts on the pork, front and back.
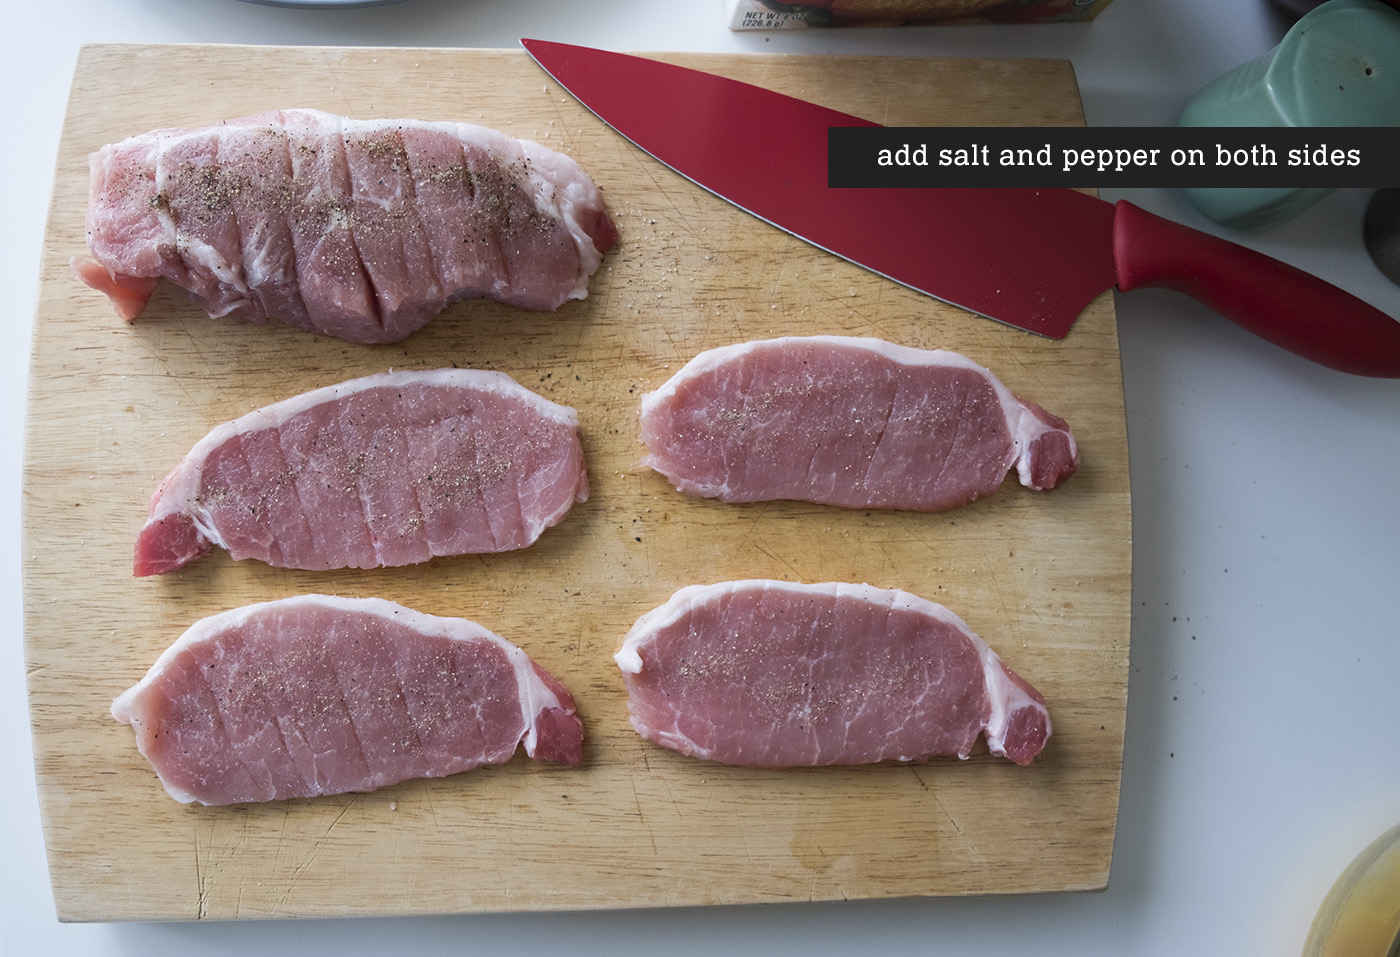
STEP 3: Add salt and pepper to taste on both sides of the pork

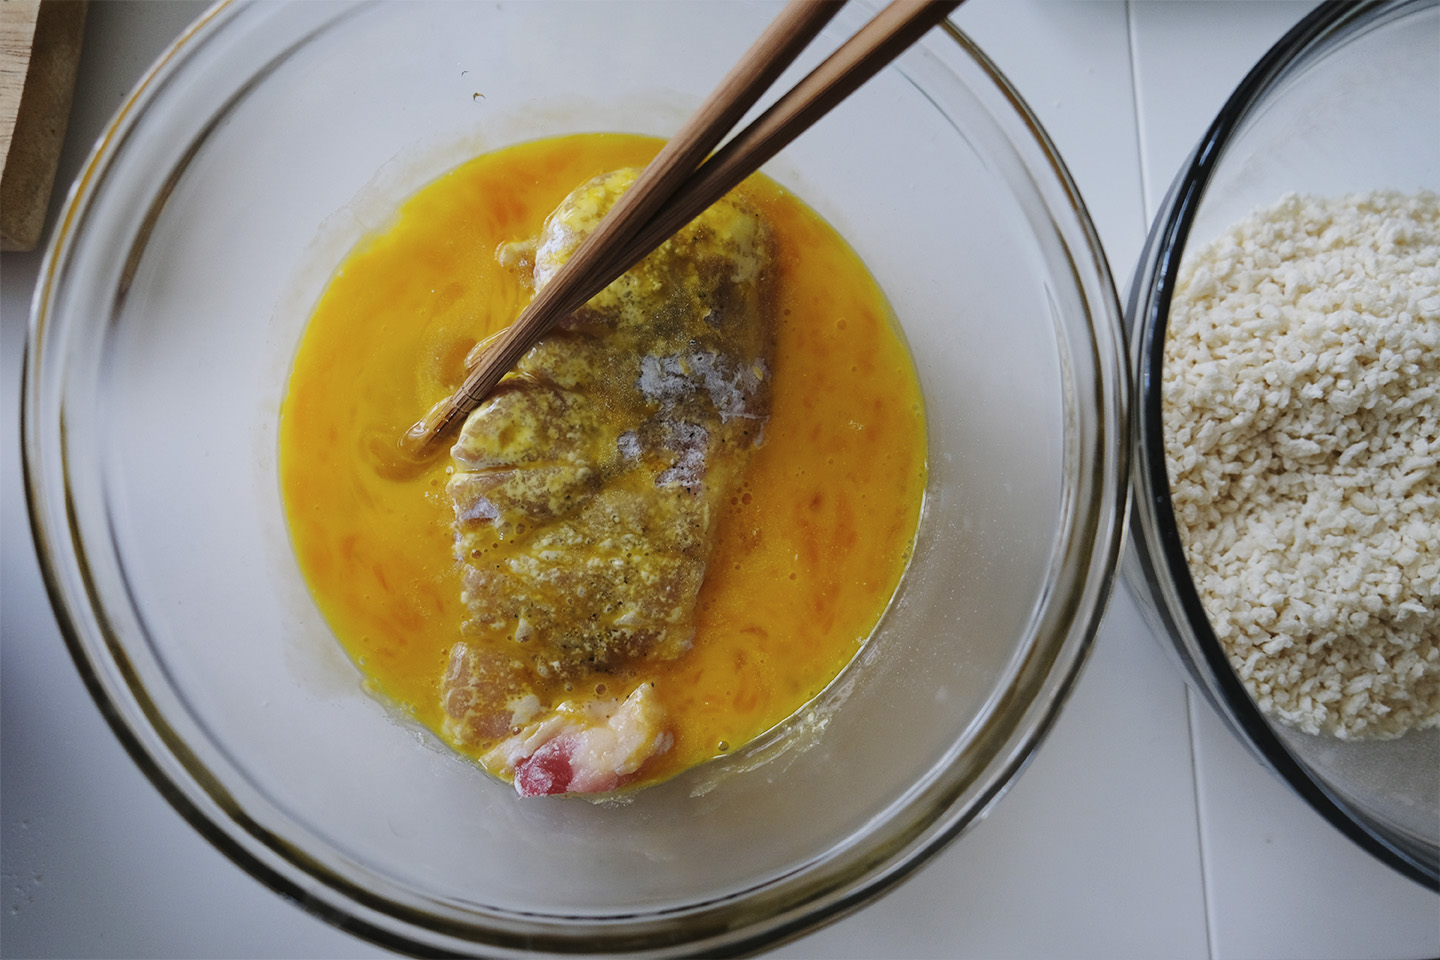
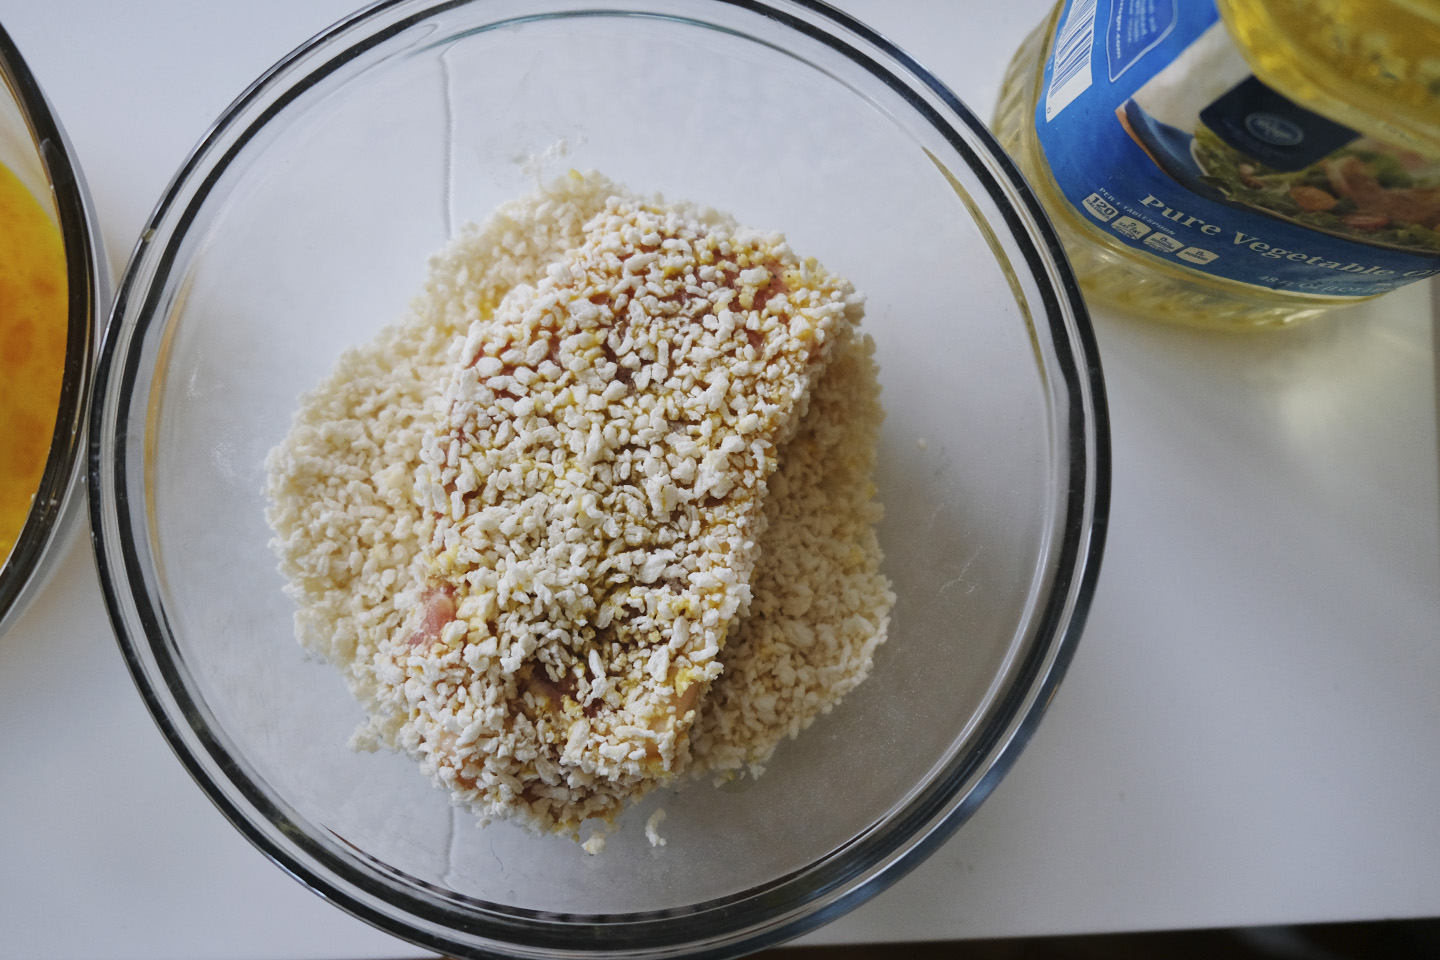
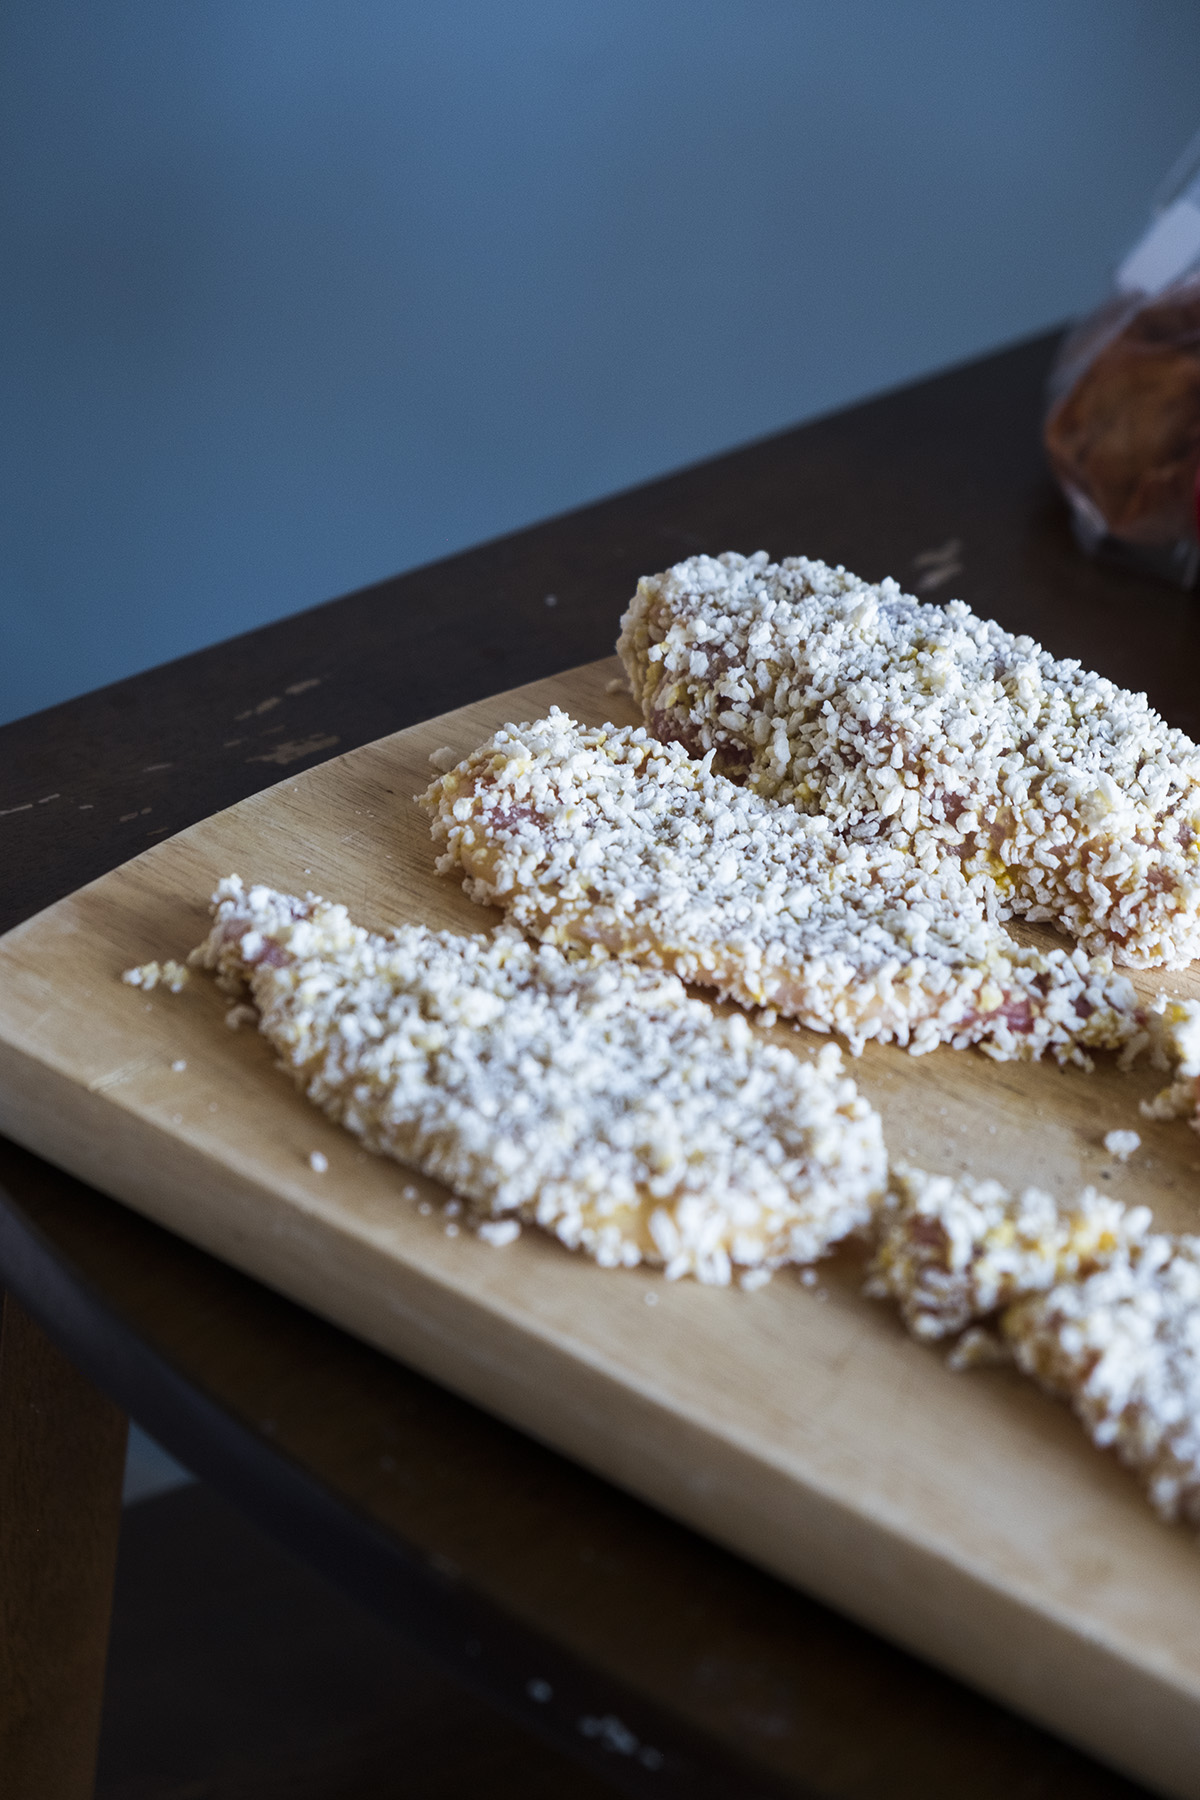
STEP 4: Coat pork in flour, then egg, then panko
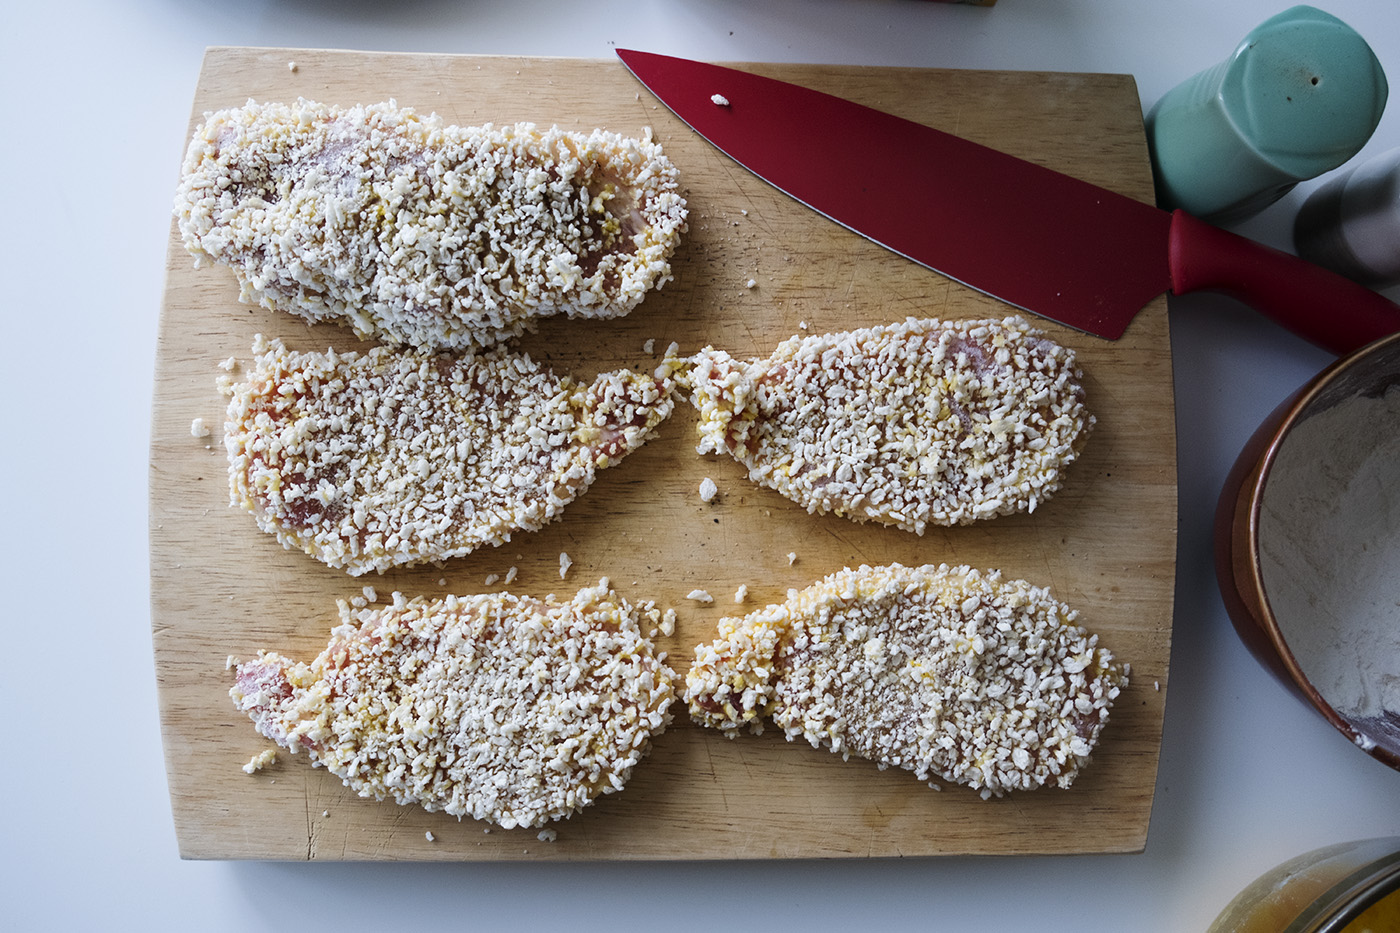
Really not feeling good about this at this point. They looked kinda…funky? But, it was time to get the stove ready.
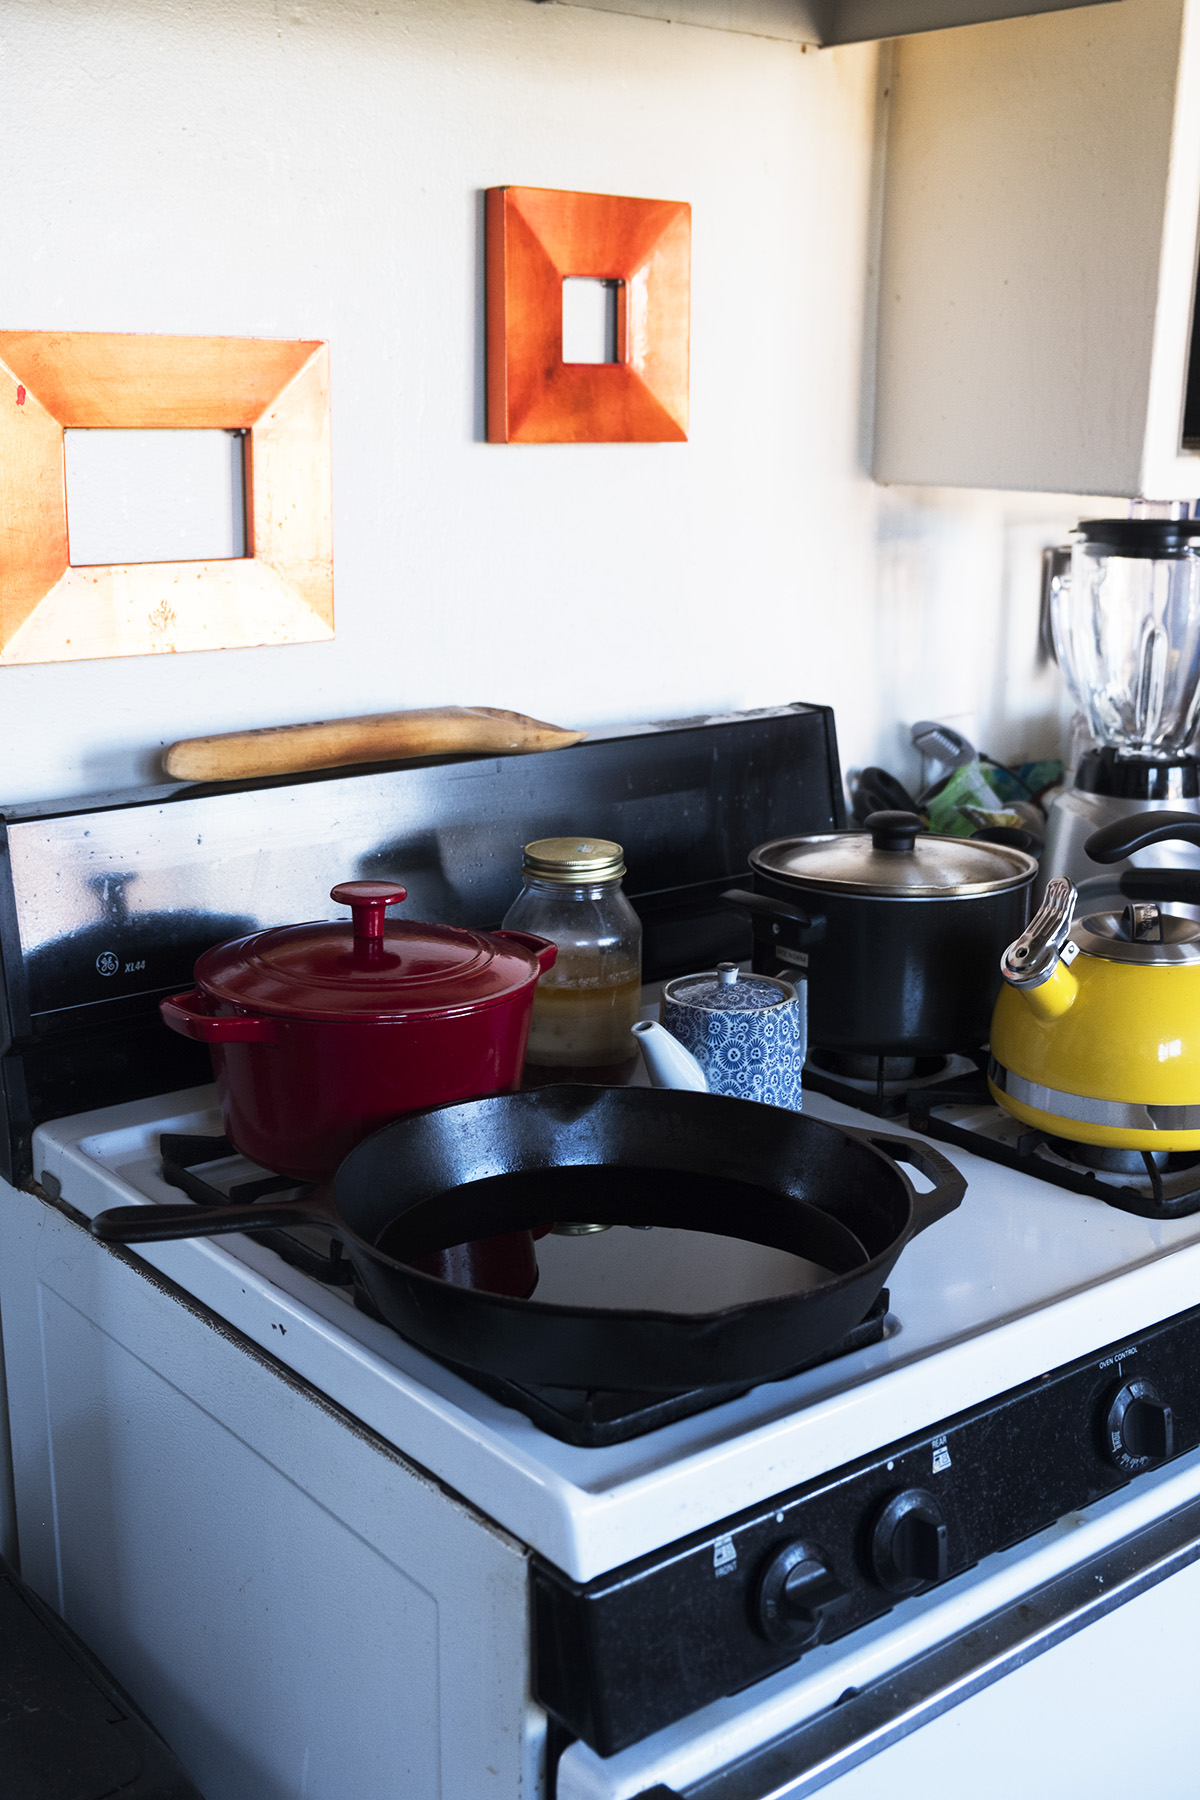
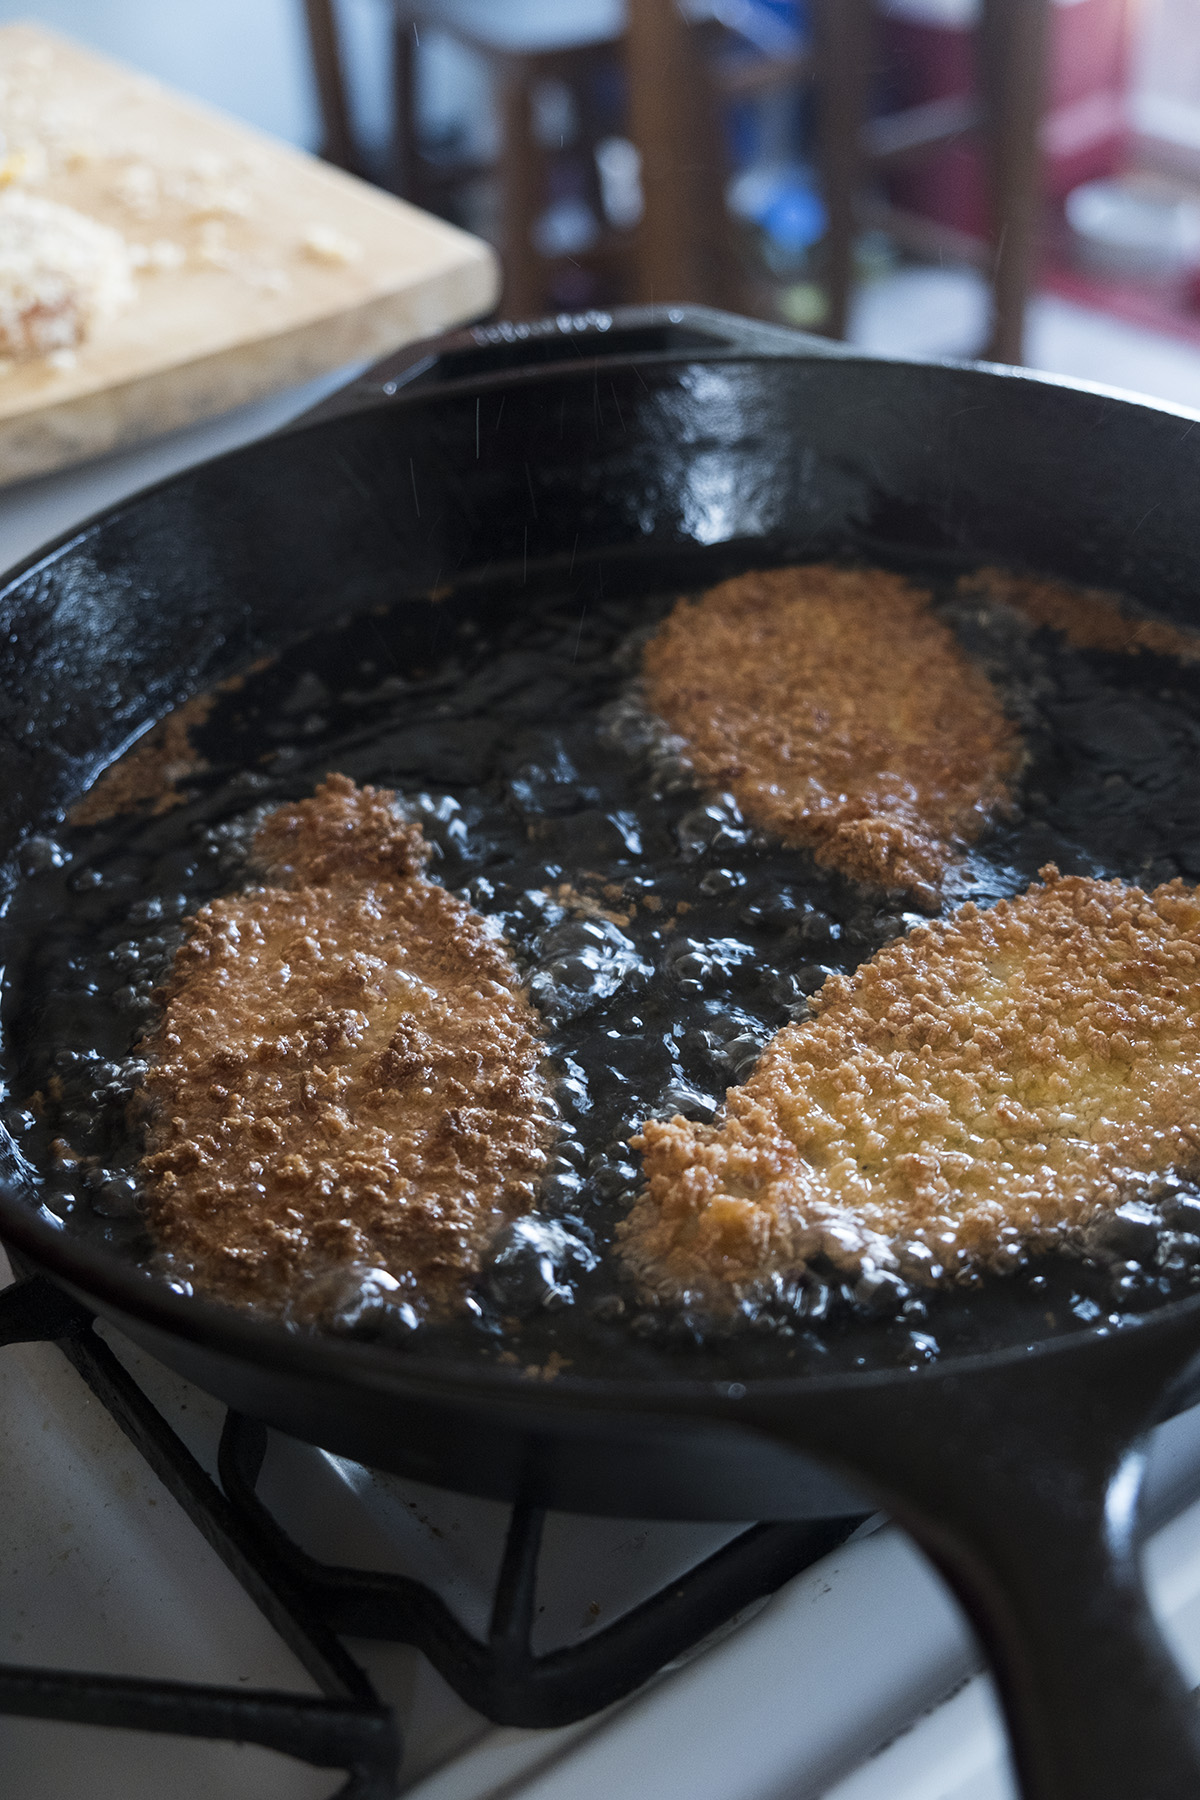
STEP 5: Using canola or veggie oil, heat up the oil in a frying pan.
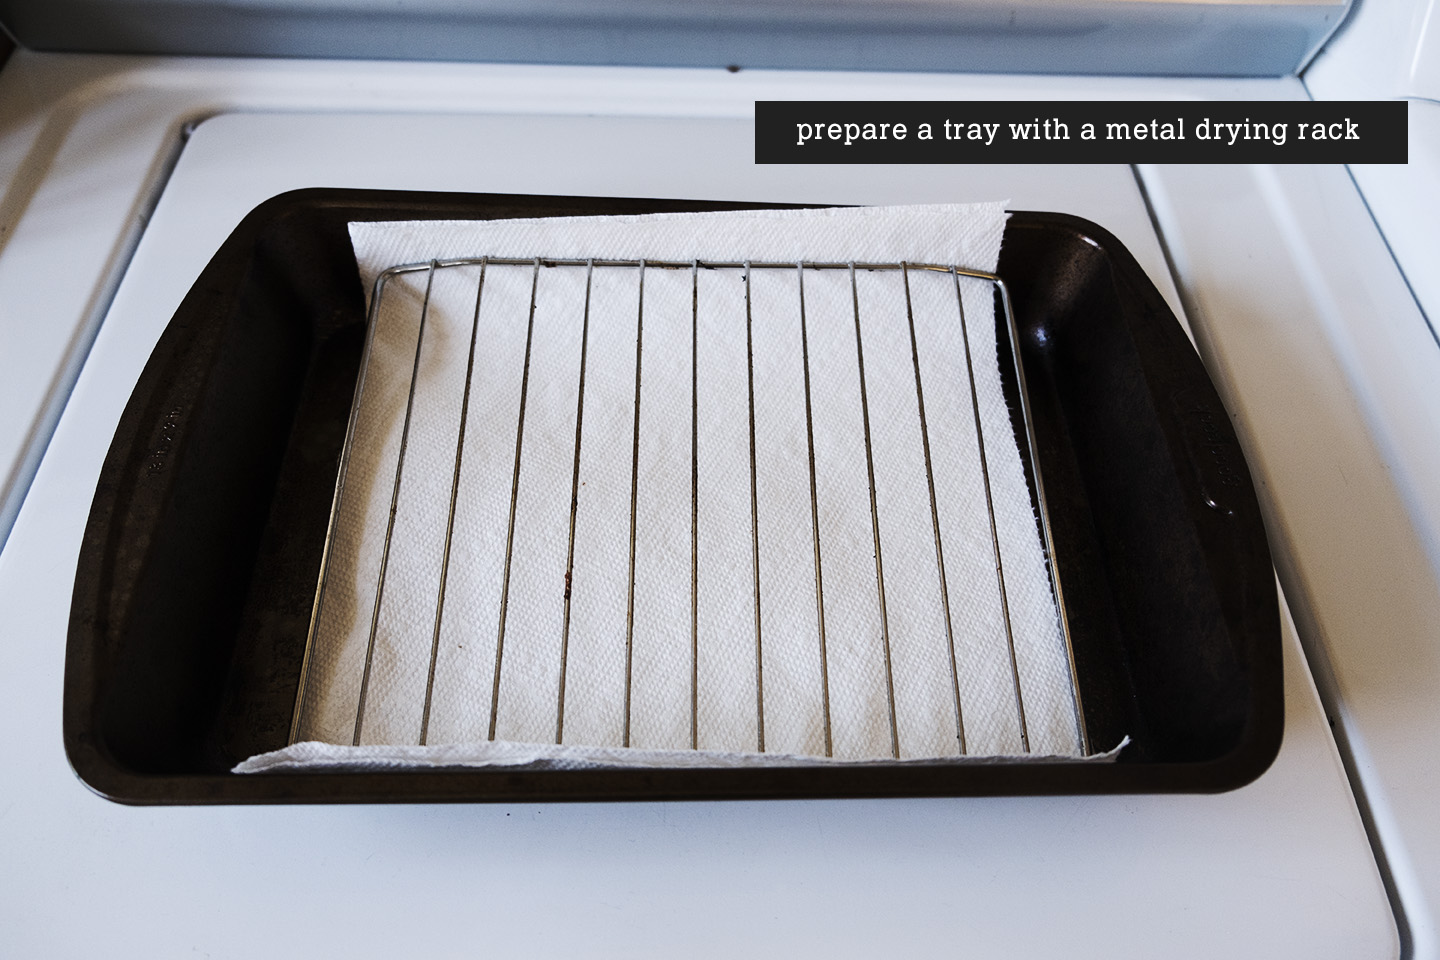
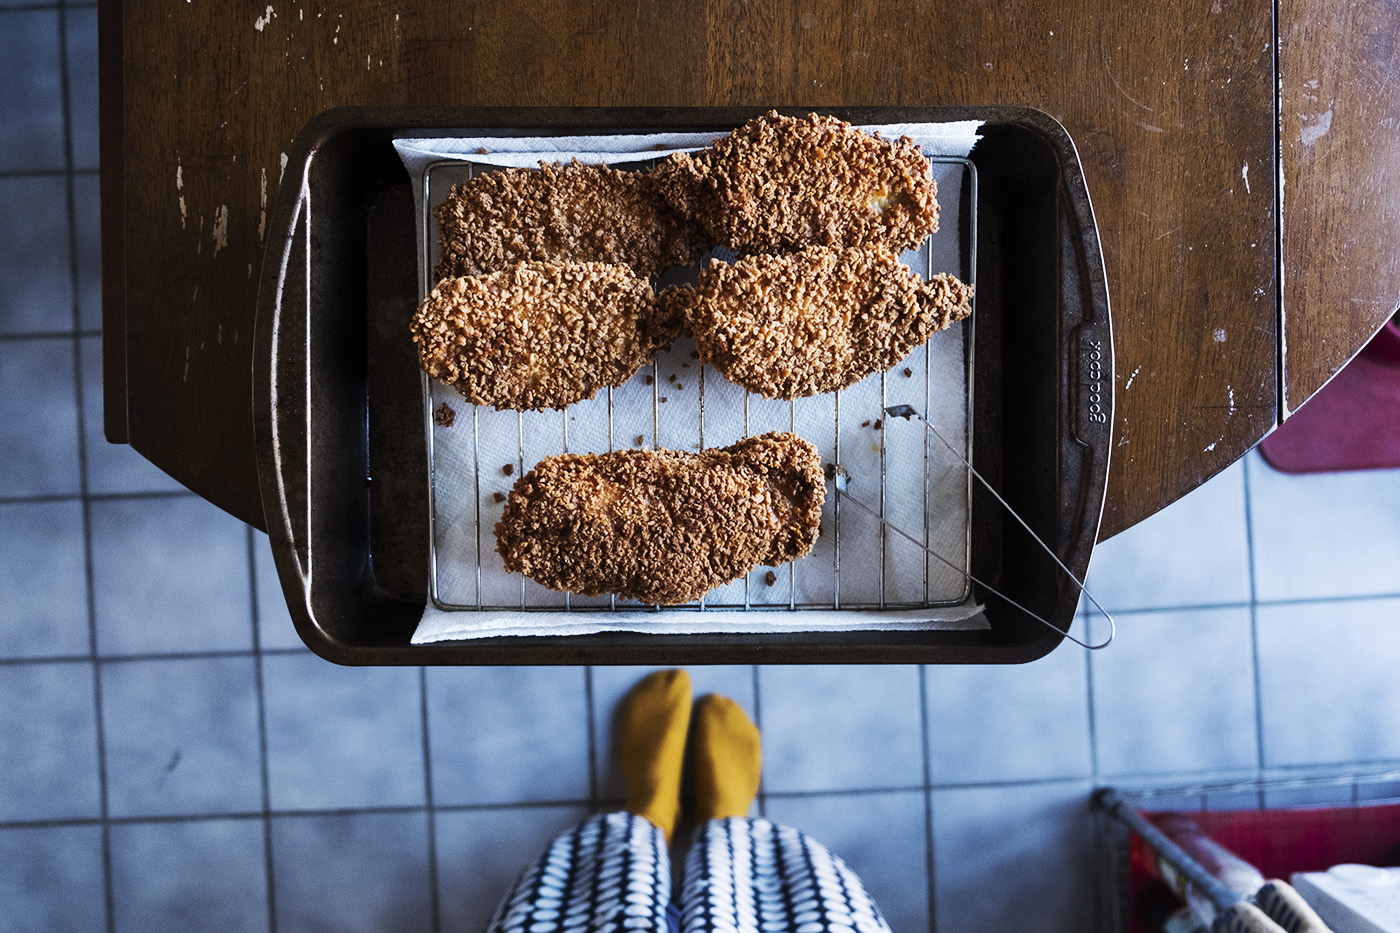
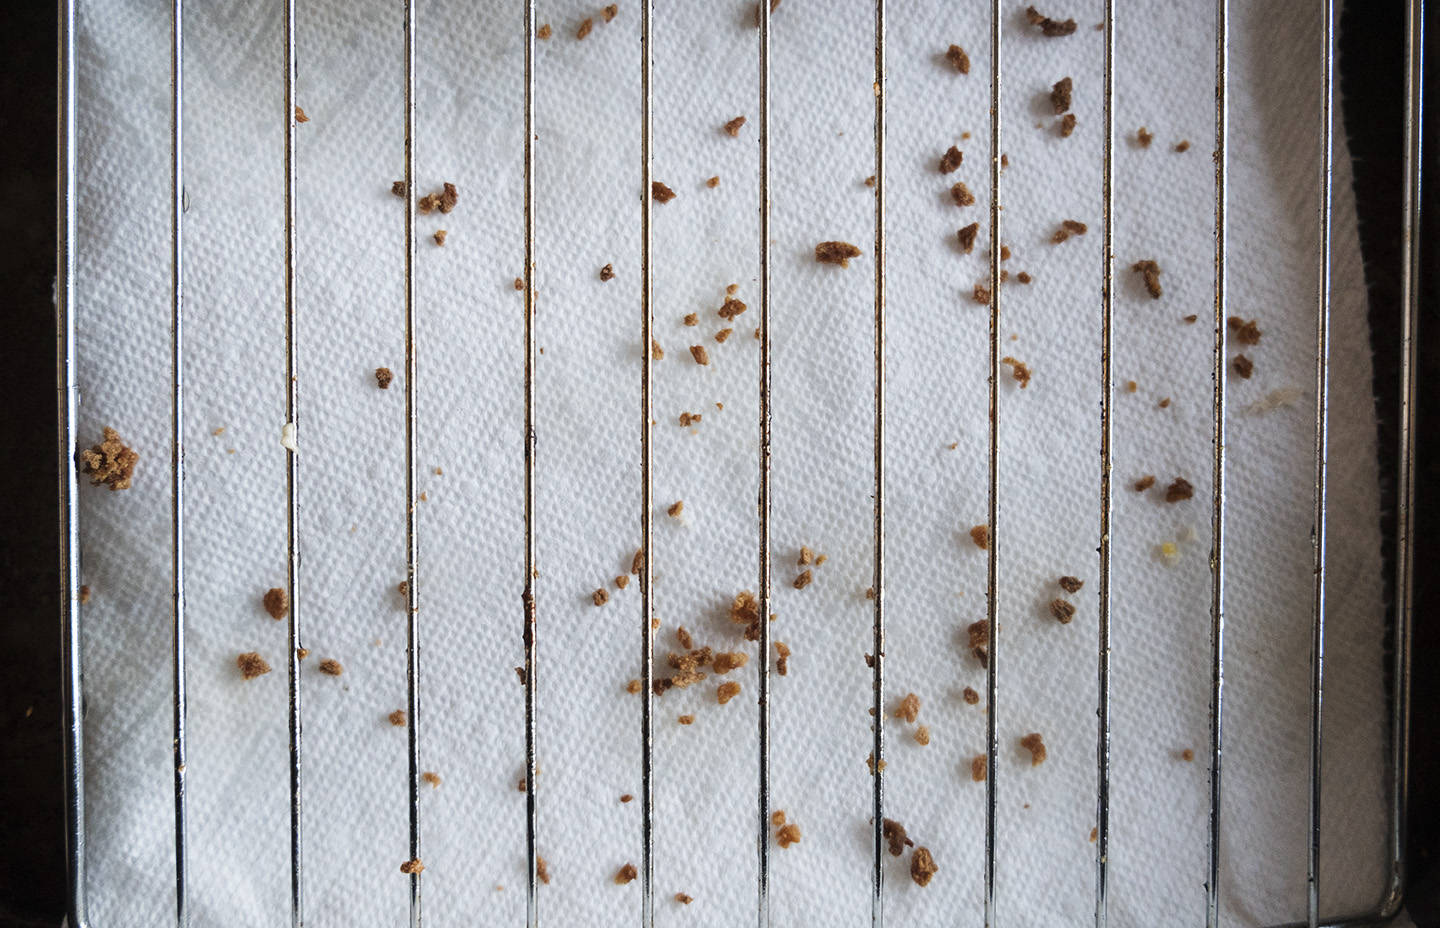
STEP 6: Prepare a tray with a metal drying rack. This is where you’ll put your fried pieces of pork to drip off extra oil and hang out. I didn’t actually have a rack, so I pulled the tray out of my toaster oven. Make. It. Work.
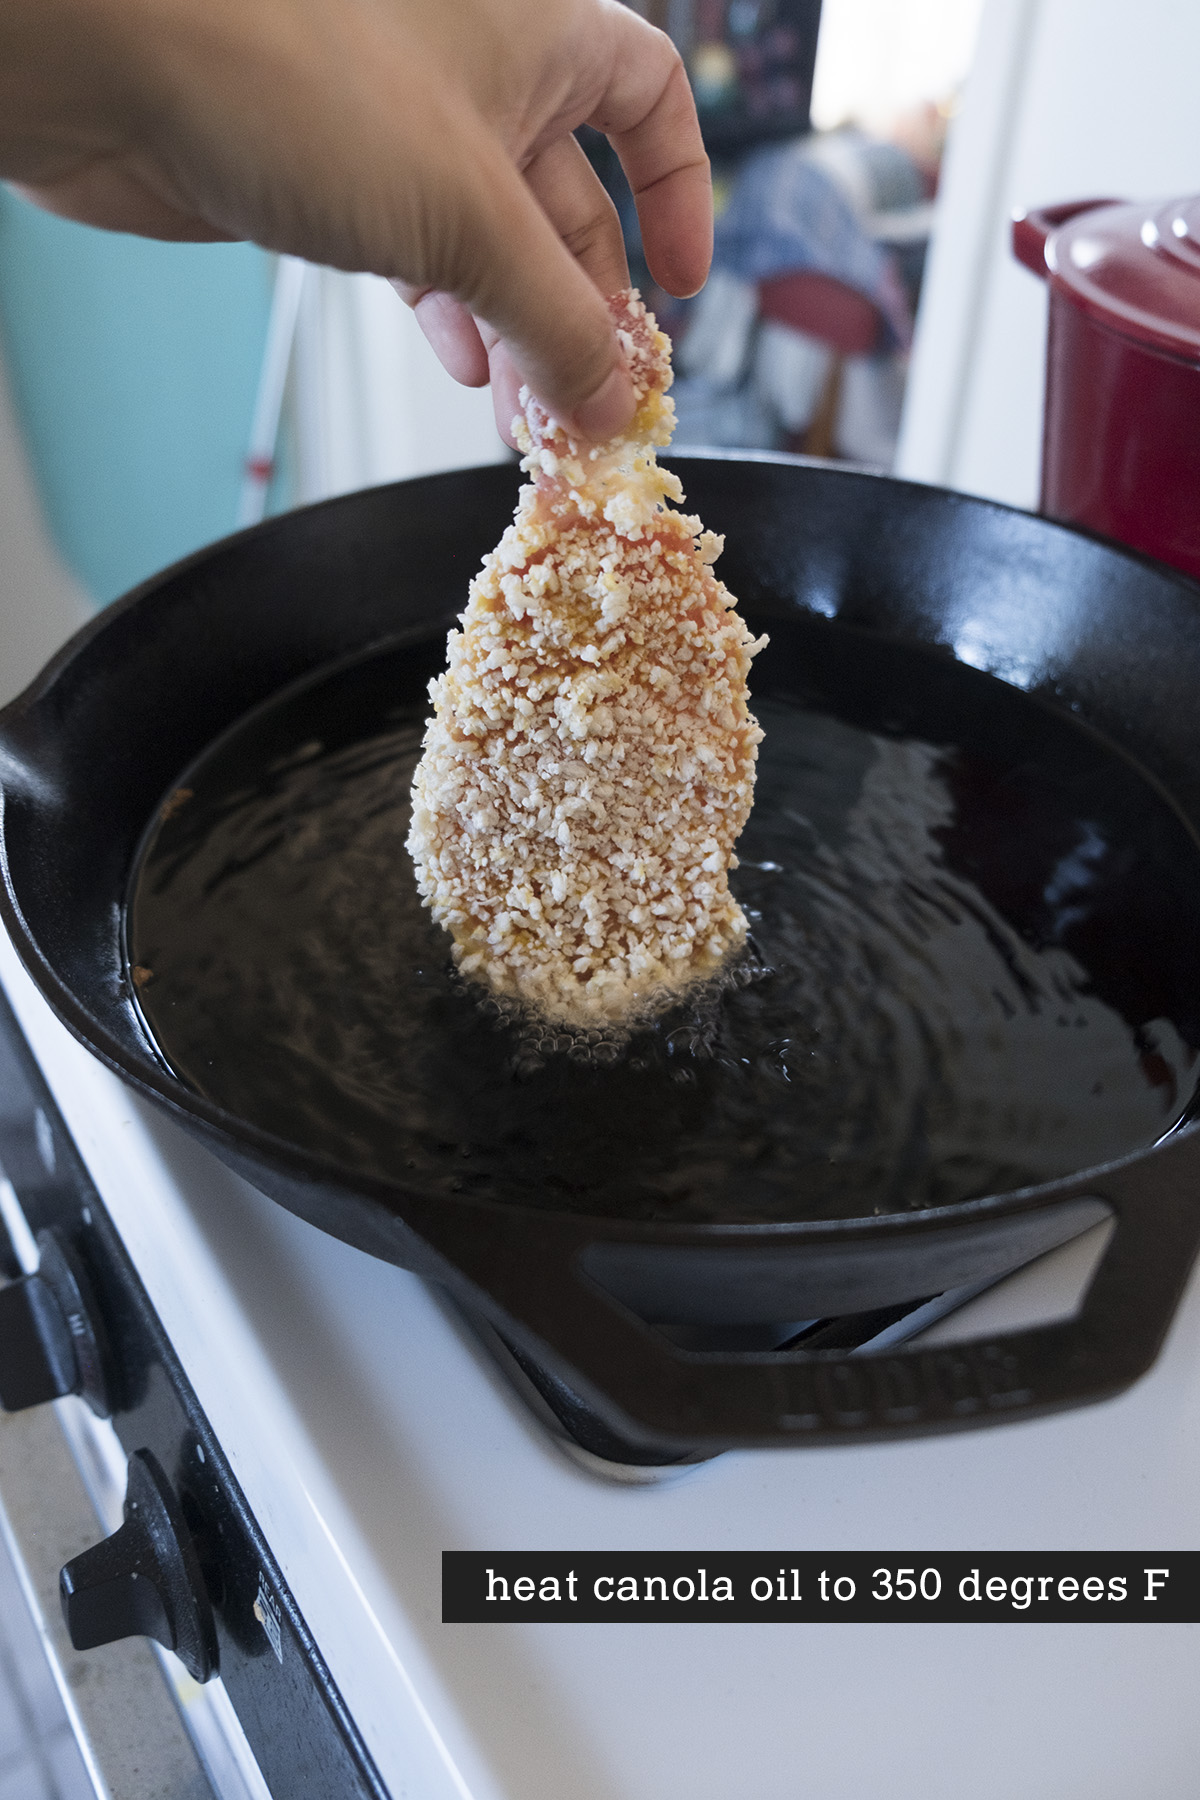
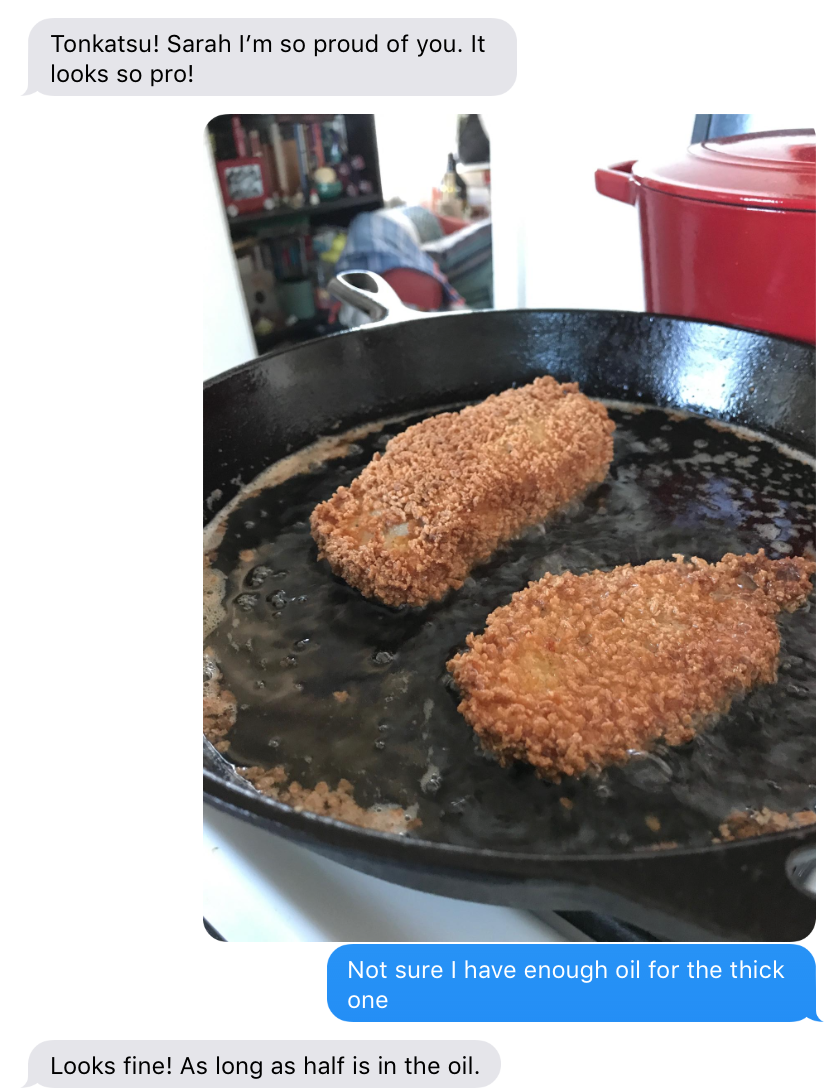
STEP 7: When the oil reaches 350 degrees F, add a few pieces of pork in at a time. To test how hot the oil is, use a food thermometer or drop a piece of panko in and see if it fries and floats. I wasn’t sure how much oil to use, but I finished up a bottle so I figured that was going to have to do.
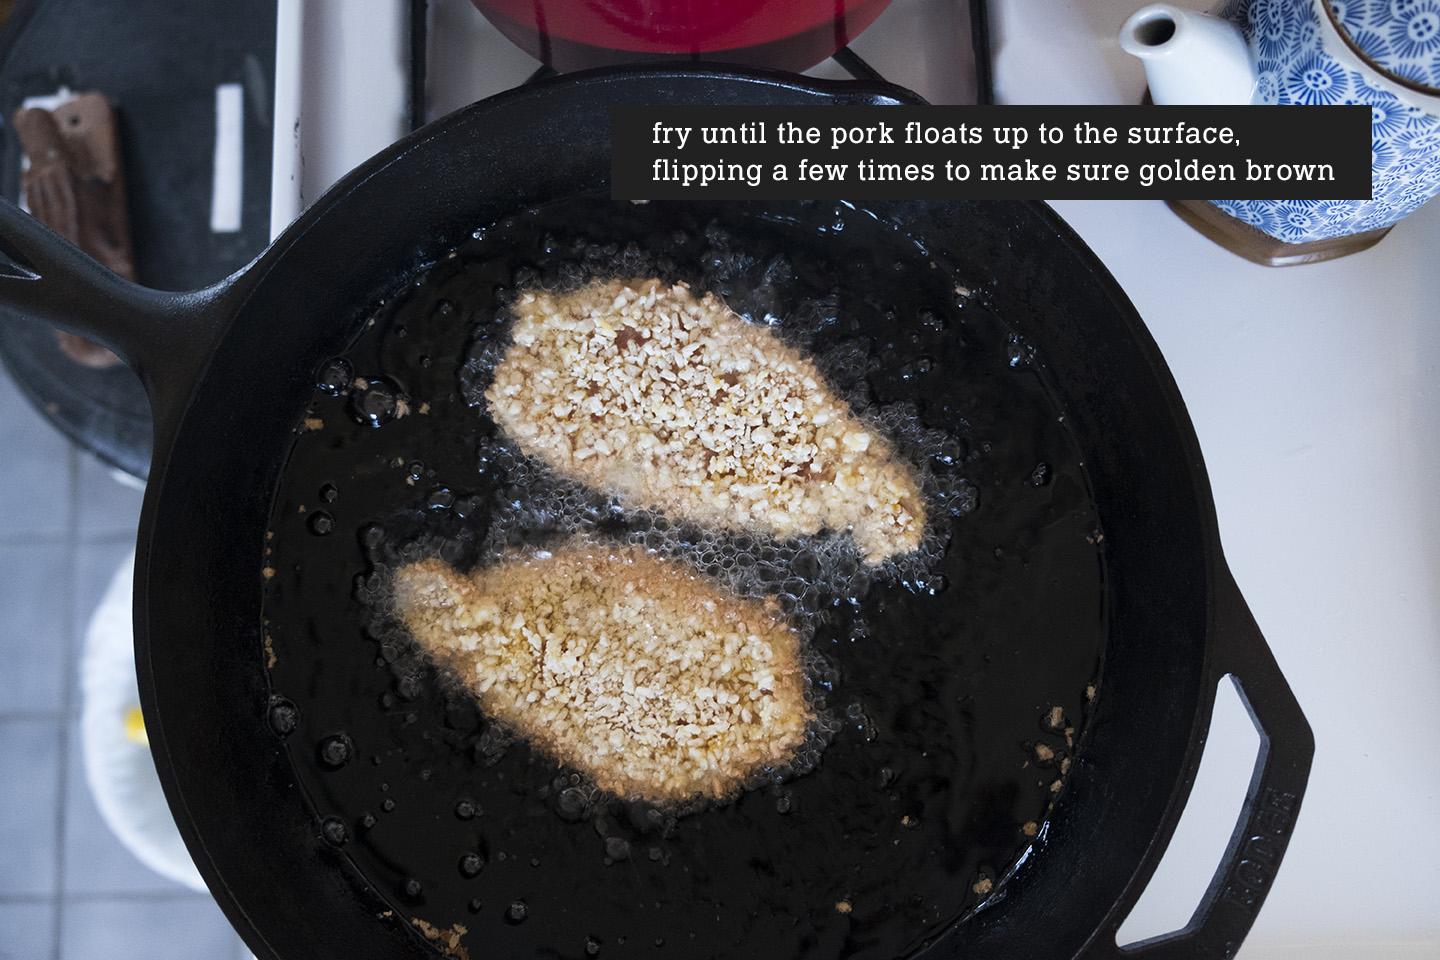
STEP 8: Fry for a few minutes on each side, especially if the pieces are smaller. I flipped the pieces about 2 or 3 times each, just because I was nervous one side was burning. I wasn’t sure if I added enough oil to the pan, as there wasn’t really room for it to “float up” when done? I just eyeballed it.
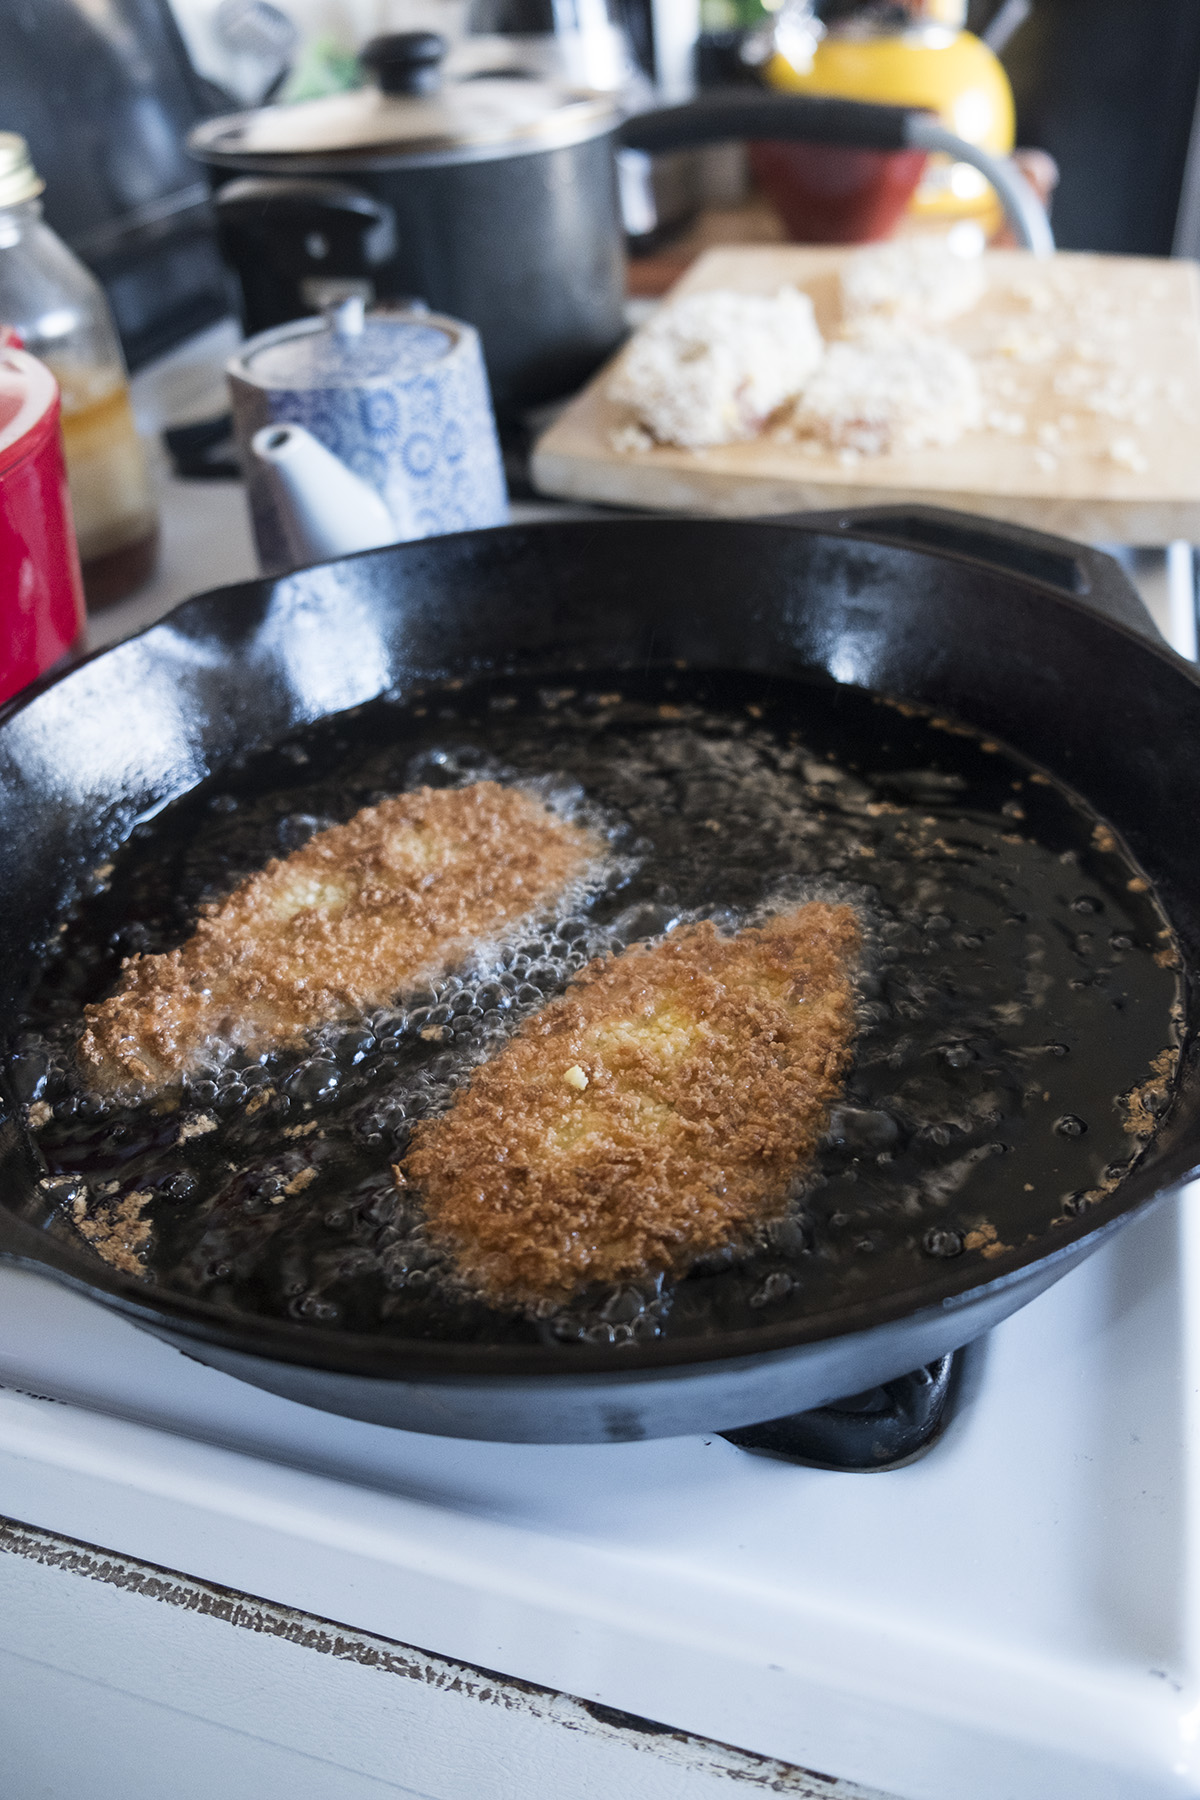
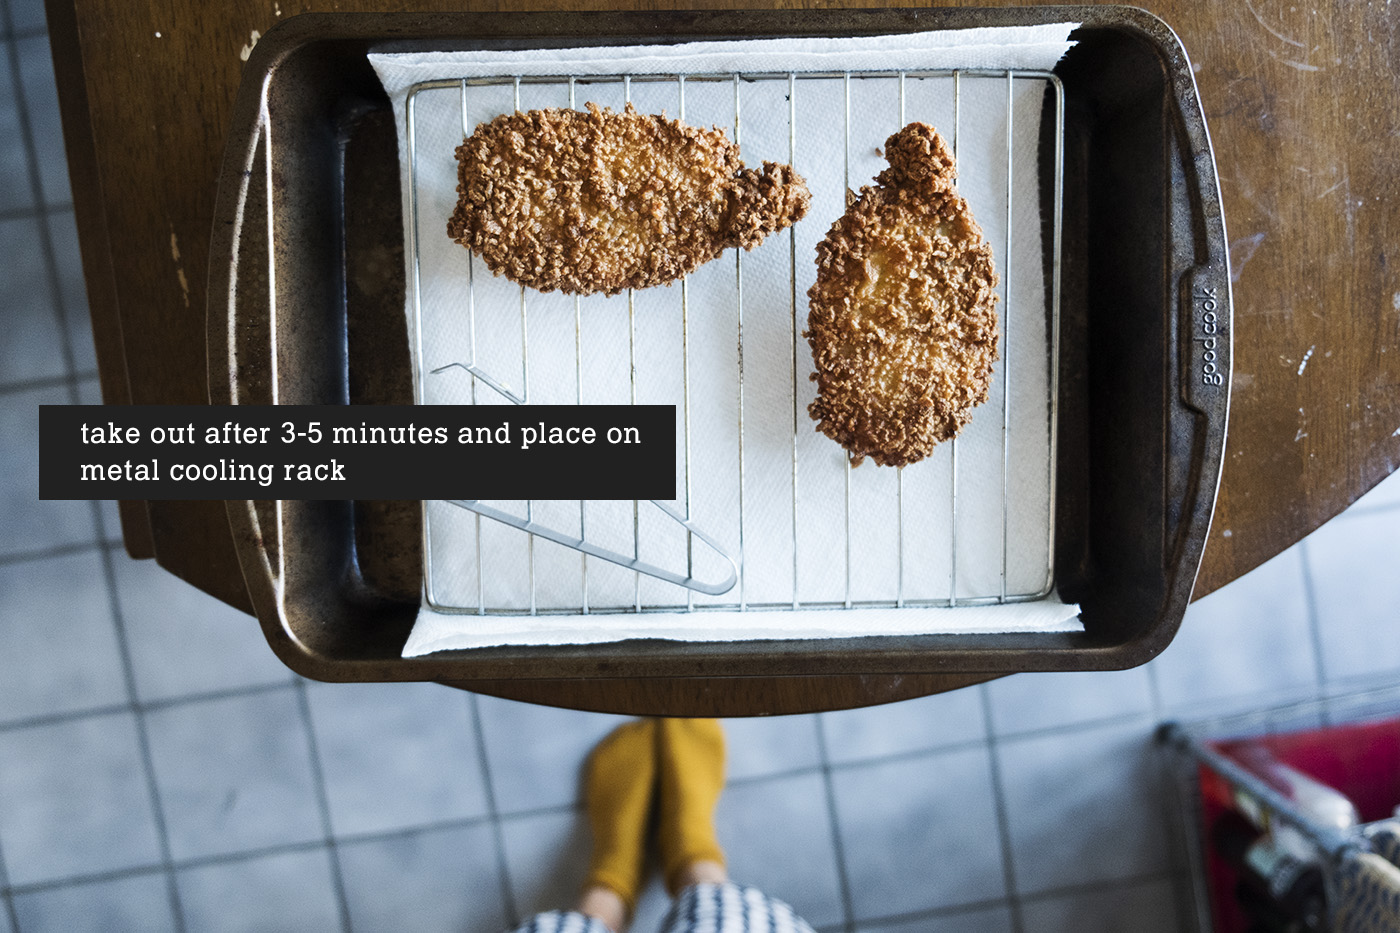
STEP 9: Take the babies out of the fryer and let rest on drying rack. I should say that 3-5 minutes is for the smaller pieces, I left the bigger one in for closer to 5-7 minutes.
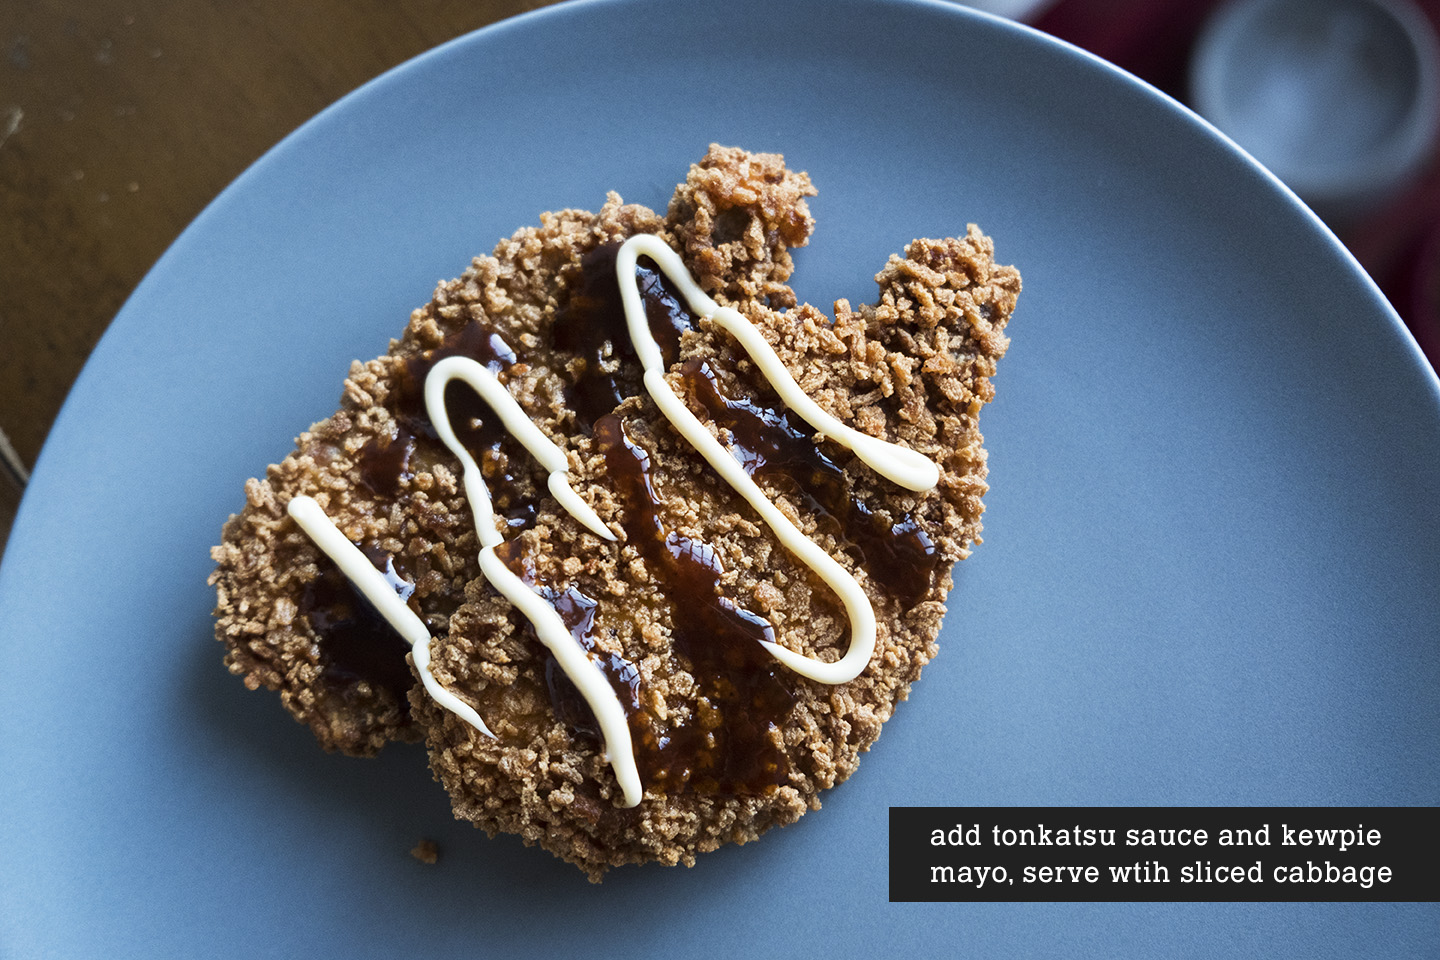
STEP 10: Add tonkatsu sauce and kewpie mayo!
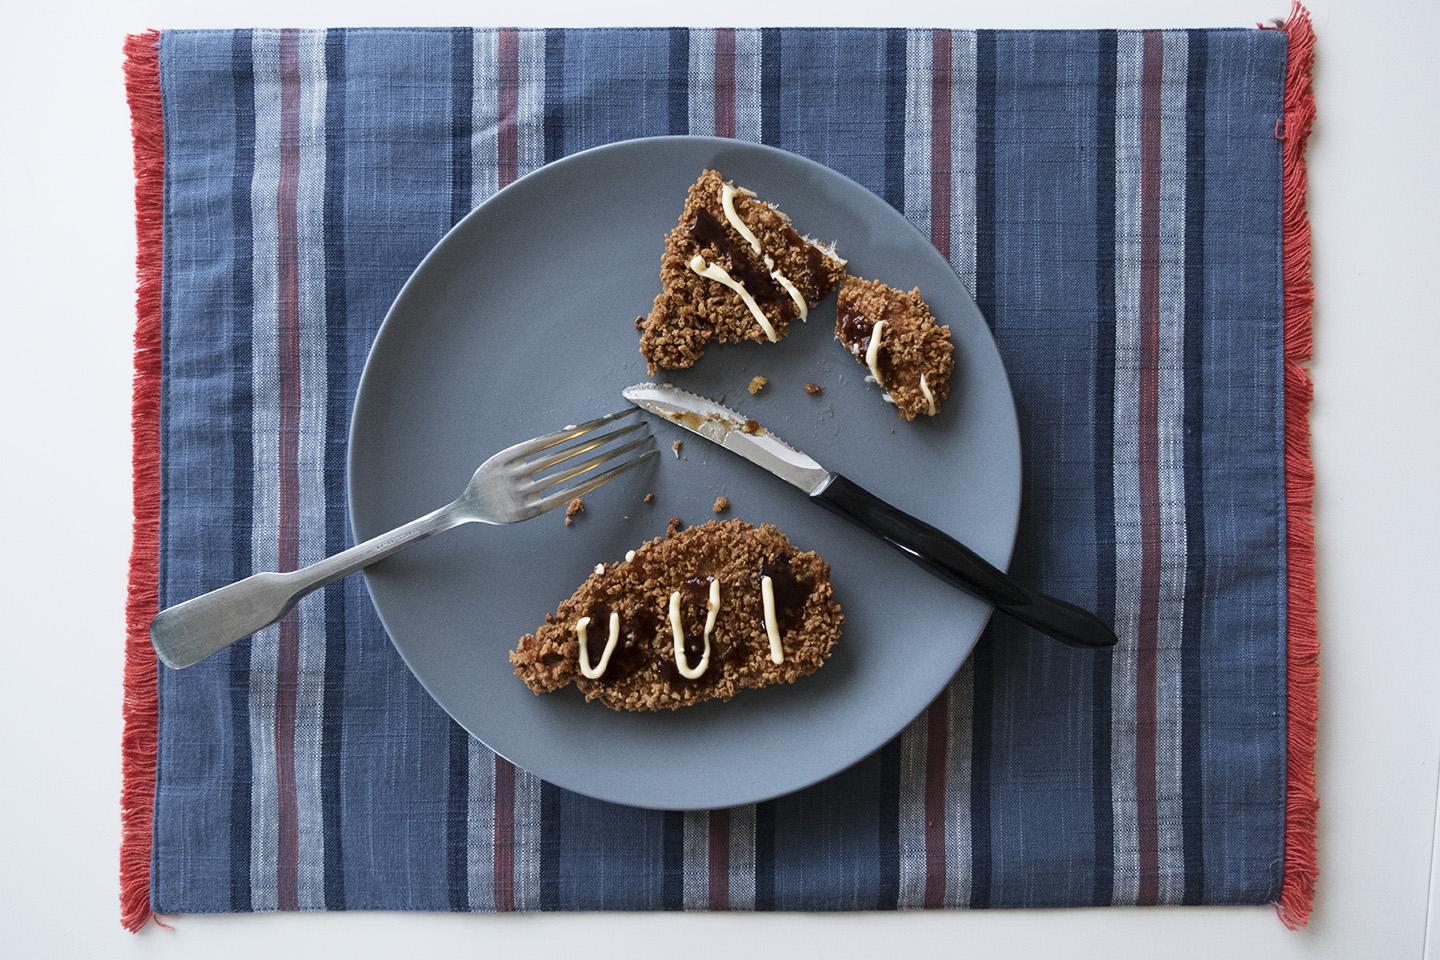
STEP 11: Eat! My mom suggested serving with cabbage, but when I ran to Target earlier, unfortunately, they didn’t have any. It was delicious, especially with the Japanese mayo. The thinner pieces weren’t dry and were really flavorful…and the thicker piece did also cook all the way through so that was encouraging.
All in all, it was easy enough to find and gather the ingredients, prep them, and make the dish. I texted my mom throughout the frying process and she sent some encouraging words.
Mom approved. Me approved. I’d make it again, though hopefully next time I won’t be alone all day and there will be somebody else there to try it.
Much love friends.

Sarah! This is such an exciting new series and I definitely am looking forward to more of these 🙂 The tonkatsu looks so delicious! *thumbs up*
LikeLiked by 1 person
Thank you so much, so happy to hear you’re looking forward to more! I’ll have to ask my mom for more recipes.
LikeLike
Love this!
LikeLiked by 1 person
Yay! Happy to hear that.
LikeLike
This is a lovely project! And reminds me of the photography series you did a few years ago, the name of which I’m totally blanking on.
Torikatsu is one of my favourite things, though I’m definitely making a very inauthentic version i’m sure!
Question: what did you do with the oil afterwards? I never properly deep fry (just kinda use a bit more oil than normal and keep my pieces small) because I have no idea how best to dispose of all that oil!
LikeLiked by 1 person
Thank you! I’m excited to do more of these, hopefully. As for oil…I have a gross oil jar that used to be a pasta jar and now I just pour used oil into it. When it gets full, I just toss the whole jar into the trash. Not sure if this is the best way to do it…but that’s what I do!
LikeLike
Can I just say you’re super awesome for doing this???? Definitely will be following your recipes!!! 😀
LikeLiked by 1 person
Let me know how it turns out for you!
LikeLike
This is so cool! I love exploring my own heritage through food and it’s fun to see others do the same! My dude’s parents lived in Japan for a few years before he was born and it’s interesting to me how he grew up eating a lot of Japanese food and celebrating some Japanese traditions, despite not being Japanese at all. I look forward to more installments in this series
LikeLiked by 1 person
Thank you! Super interesting about your boyfriend’s family—what is their favorite Japanese food to make at home?
LikeLike
Love this new series! I hate cooking but you make it look so easy and the photos help. This has definitely encouraged me to make some tonkatsu myself!
LikeLiked by 1 person
Oh! I hope you try it out!
LikeLike
Aw I loved seeing your mom’s replies! I’m also scared of deep frying but it looks like you did a great job. I look forward to seeing more!
LikeLike
I was also pretty scared of deep frying…but it wasn’t as hard as I thought! I think the most important part was setting up that rack so the tonkatsu could get crispy and not bogged down in oil. (At least I think that was the most important…I’m still learning too!)
LikeLike
This was GREAT.
I have the same Lodge cast iron pan! How d’you get such a nice, smooth finish? Mine is now worse than when we bought it/everything sticks/it’s not smooth at all/I hate it xD
LikeLike
Thank you! I have a little piece of metal that looks like chain mail to scrub off the hard pieces of food residue before cleaning with just water. That helps keep it smooth!
LikeLike